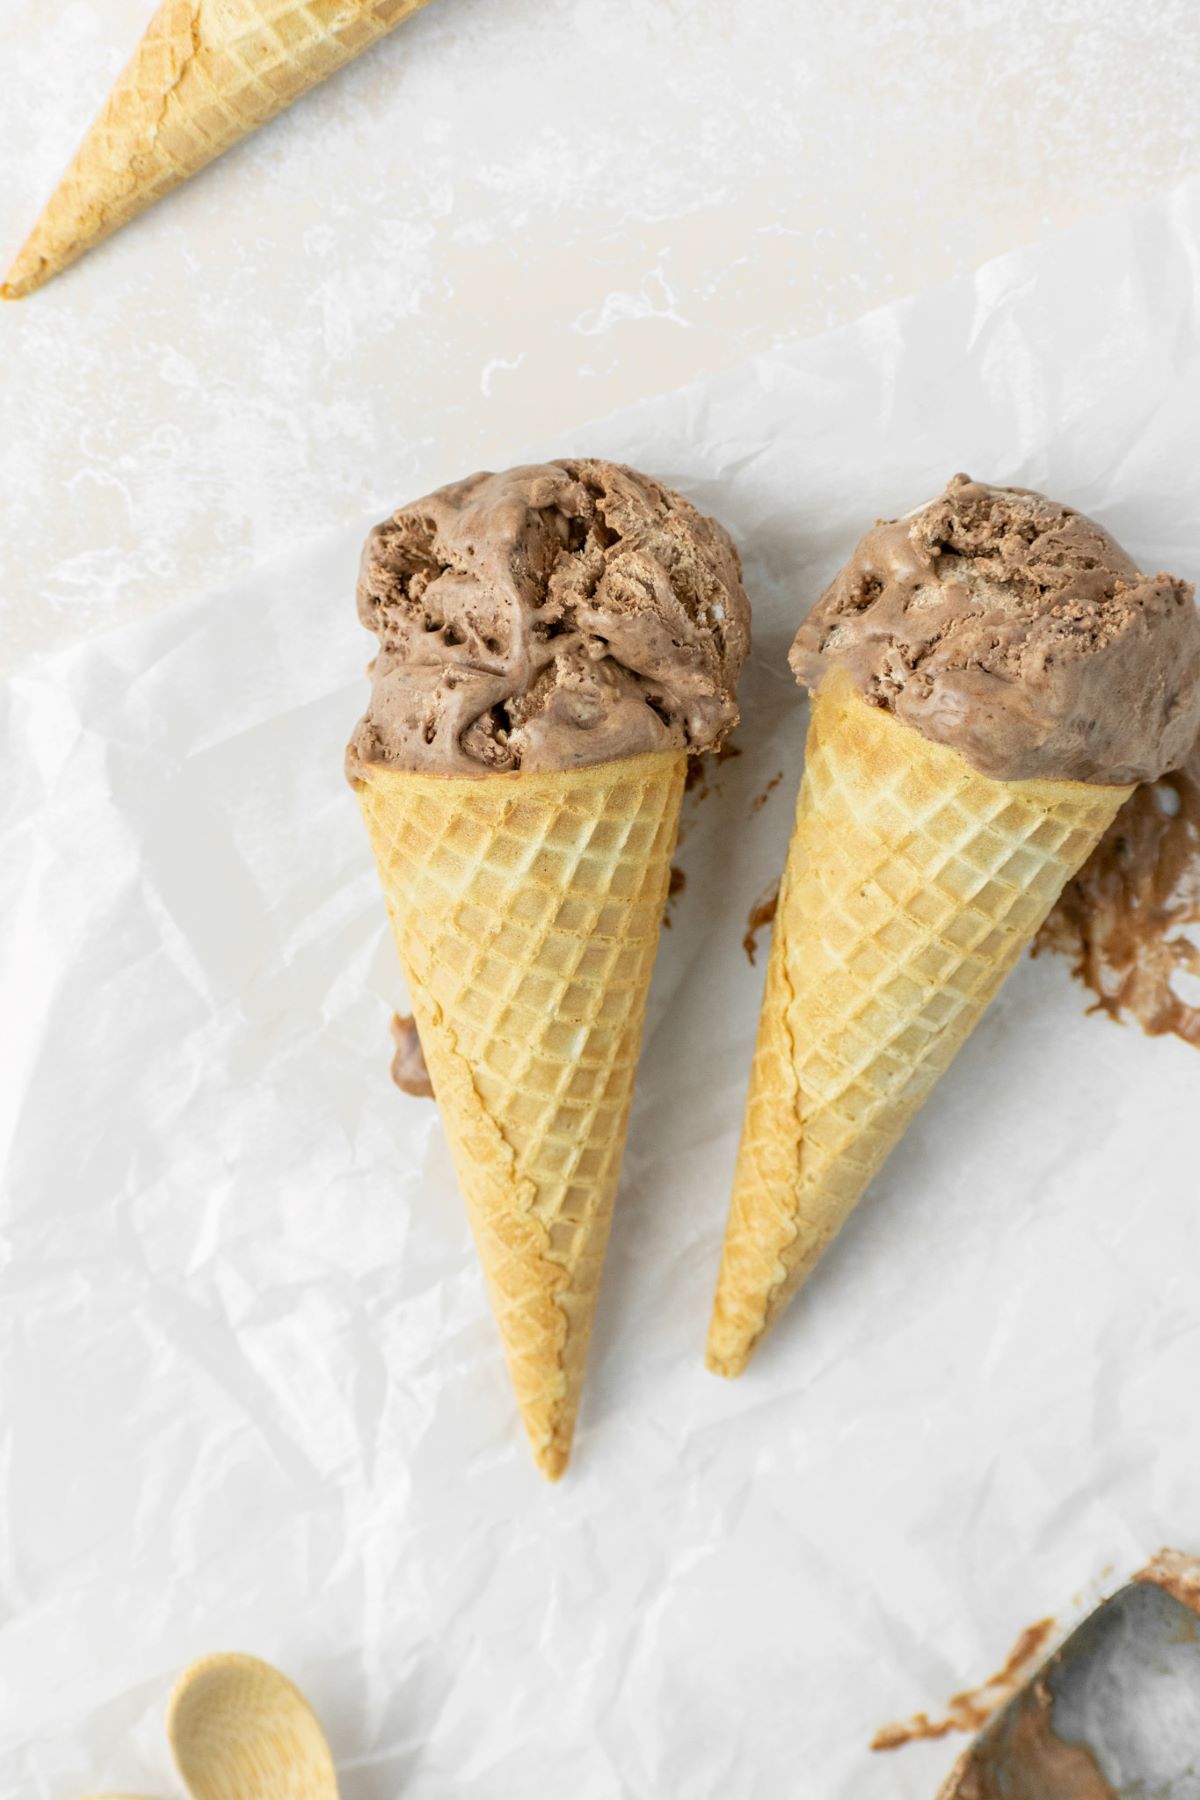
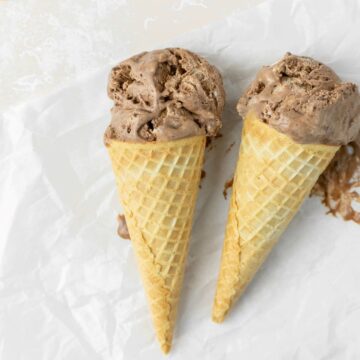
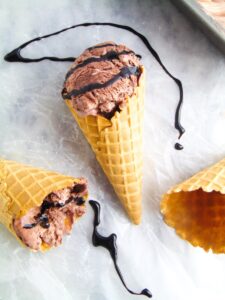
This no churn chocolate ice cream recipe is the best homemade ice cream you can make at home! The ice cream base is super smooth, creamy, and has two types of chocolate. Plus, you don't even need an ice cream machine in order to make it!

This homemade chocolate ice cream has both melted dark chocolate and unsweetened cocoa powder. I love ice cream that has a deep chocolate flavor and this no churn recipe delivers that!
Along with just needing a few simple ingredients, you don't need any special equipment in order to make ice cream at home. On a hot Summer day, your whole family will be able to enjoy this easy chocolate ice cream recipe!
Looking for more chocolate recipes? Then check out these: chocolate covered strawberry cake, triple chocolate brownies, and chocolate chip donuts.
Jump to:

Why You'll Love This Ice Cream
- It's no churn, which means you don't need an ice cream maker.
- It has a creamy texture.
- All you need are basic ingredients.
- There are two types of chocolate, giving it a rich chocolate flavor.
- It can be frozen in any freezer-safe container!
Although I do love traditional ice cream, nothing beats being able to make your own at home in less than 10 minutes!

Ingredients Needed
Here are some notes on the ingredients we'll be using. For the full ingredients list, look at the recipe card below.
- Heavy Whipping Cream: Do not substitute with heavy cream. They are not the same!
- Chocolate Bar: I used a dark chocolate bar, but you could also use a semi-sweet or milk chocolate bar. If you absolutely have to, you could also use chocolate chips.
- Sweetened Condensed Milk: Use whichever brand you prefer.
- Cocoa Powder: Use either a dark or unsweetened cocoa powder. My two favorite brands are Scharffen Berger and Hershey's.

Instructions
Here are the step by step instructions on how to make this easy ice cream recipe.
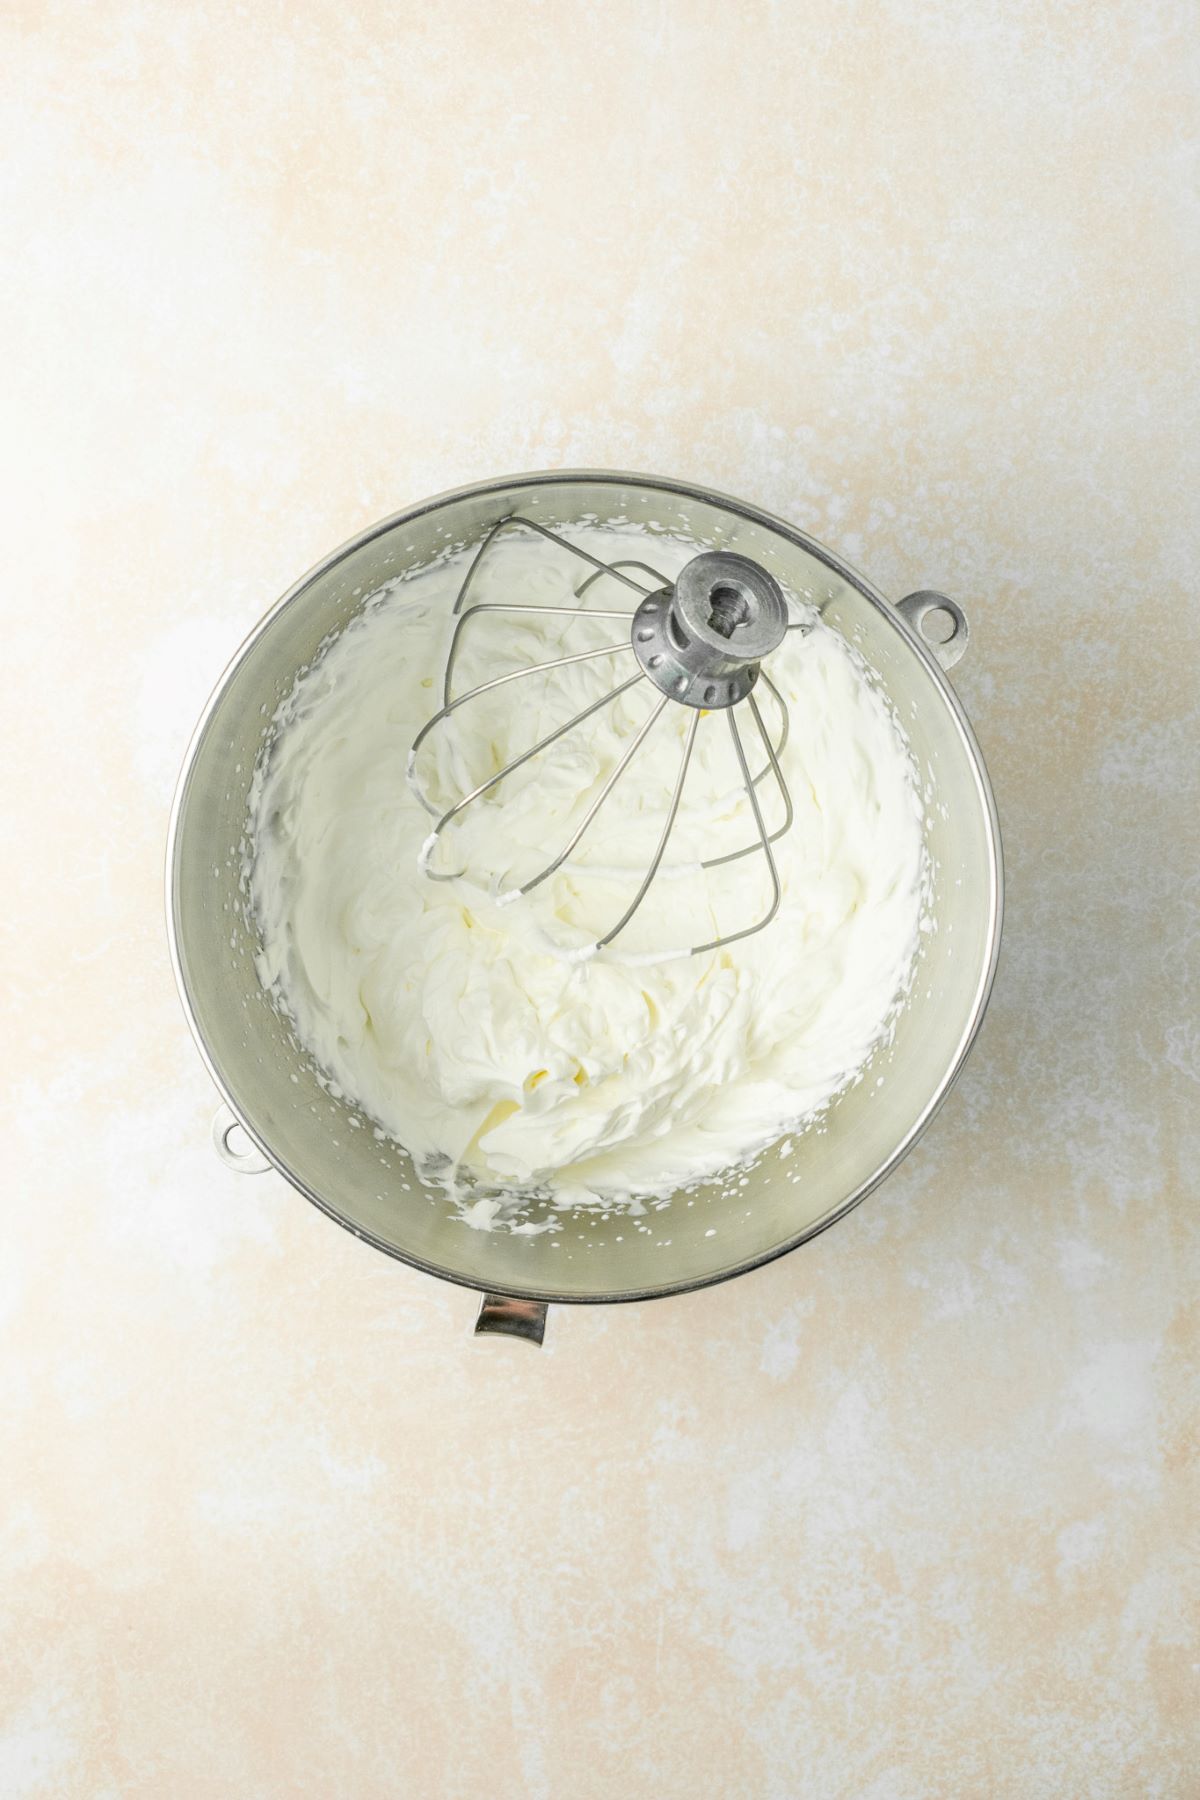
Step 1: Make the whipped cream. In a large mixing bowl, use an electric hand mixer to whisk the heavy whipping cream to stiff peaks.
Place into the refrigerator while you make the other components.

Step 2: Melt the chocolate. In a small bowl, melt the chocolate in 20-second intervals. Stir well until completely melted and smooth.
Step 3: Combine the ingredients. In a large bowl, whisk together the melted chocolate mixture, sweetened condensed milk, cocoa powder, vanilla extract, and salt until fully combined.
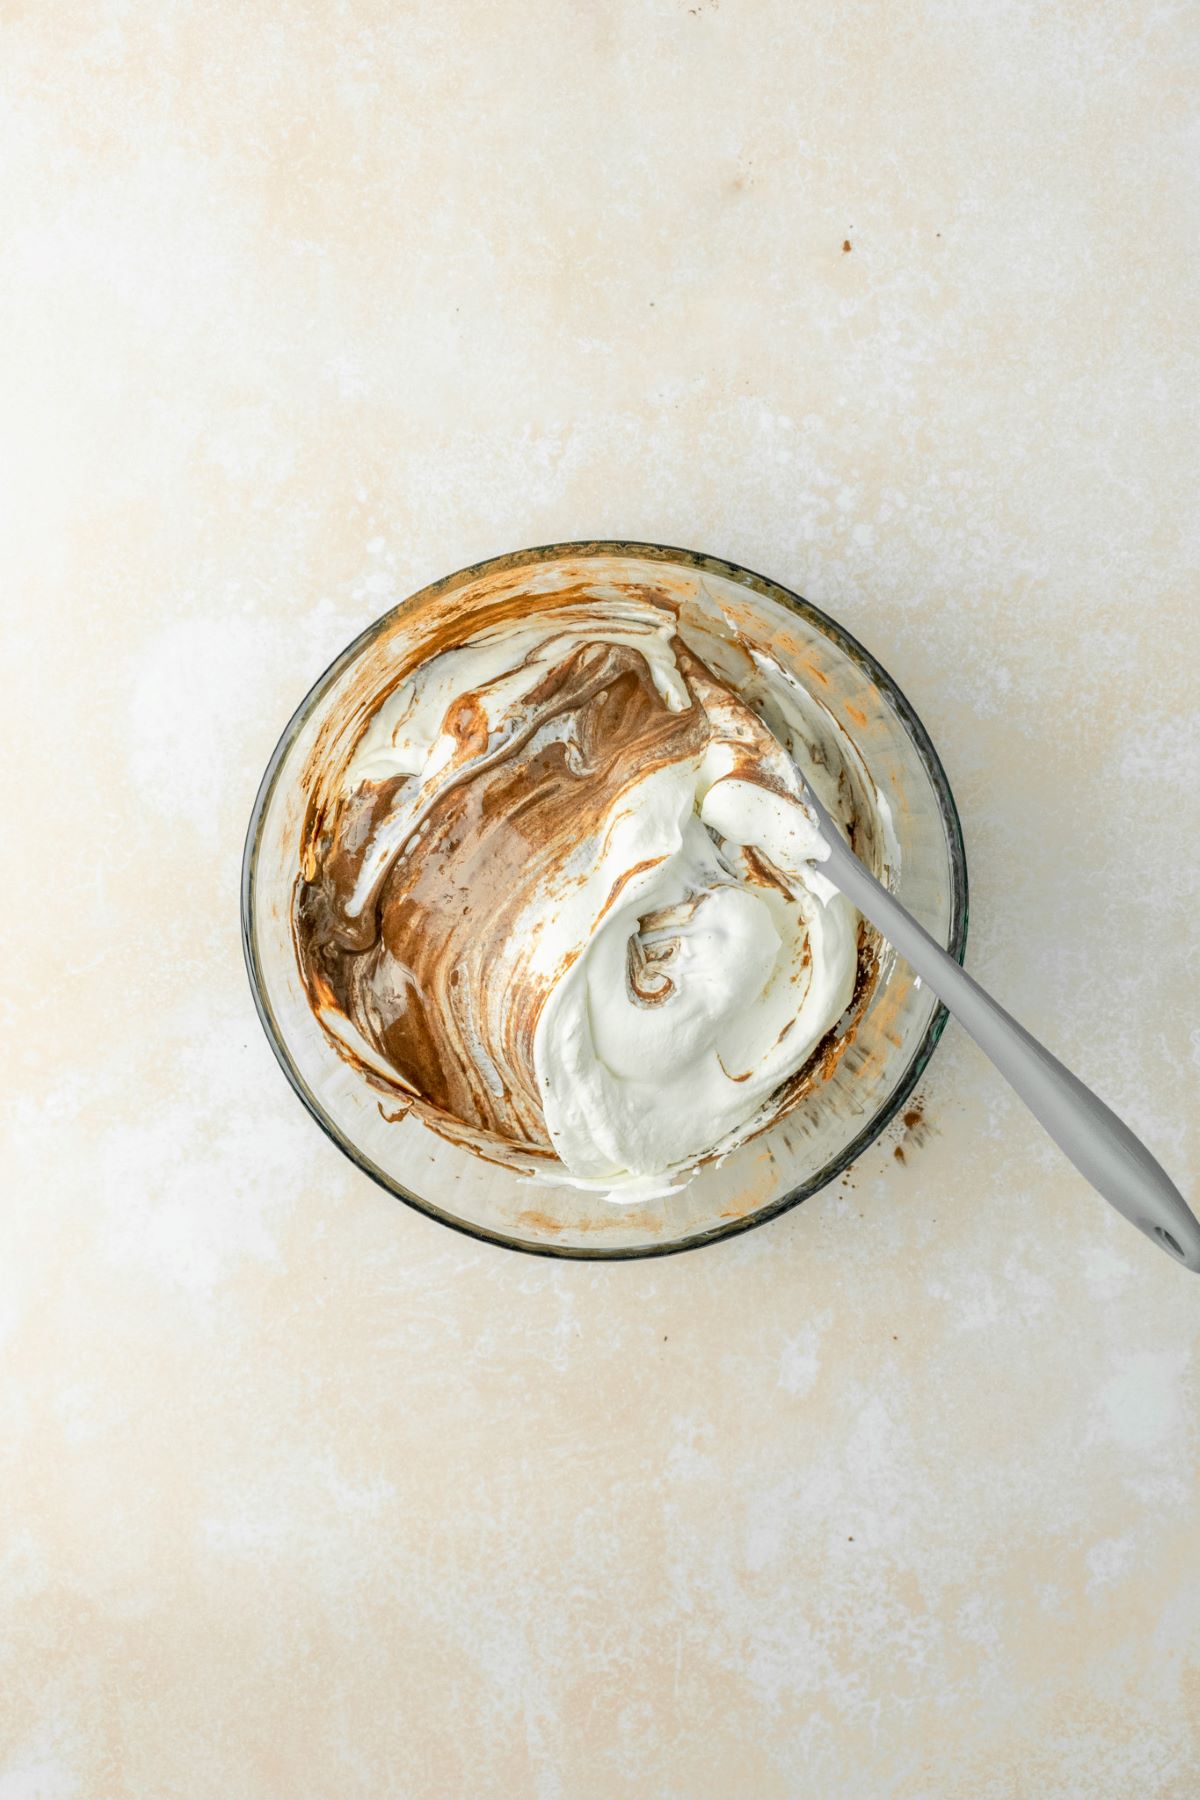

Step 4: Add the whipped cream. Fold in a ½ cup of the whipped cream gently using a rubber spatula. Then fold in the remaining whipped cream until smooth and combined.
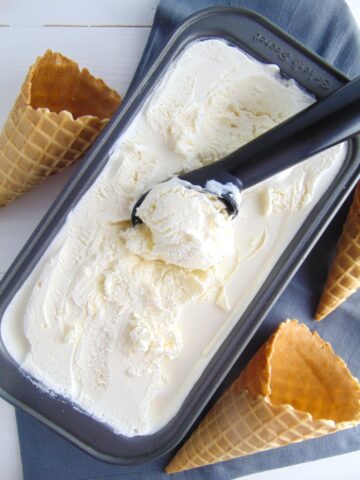
Step 5: Freeze. Spread the ice cream mixture into the bread pan and cover it with foil or a lid. Freeze for at least 4 hours.
Topping Suggestions
You can easily add your favorite toppings to this ice cream. Here are some of my favorites:
- Chocolate syrup
- Chopped chocolate pieces
- Peanut butter cups
- Sprinkles
- Caramel sauce
Storage Tips
The ice cream will last in the freezer for up to 2 months. Be sure to cover it tightly with foil or a freezer-safe lid to avoid freezer burn and ice crystals.
Expert Baking Tips
- Loaf Pan: Use a 9x5-inch bread pan to freeze the ice cream. This works great because the ice cream completely fills up the pan. Just be sure to cover the pan or any container you use with foil to avoid freezer burn.
- Stiff Peaks: The heavy whipping cream needs to be whipped to stiff peaks. This means that the peaks stand straight up when lifting up the whisk. It needs to be thick when folding into the ice cream base. If not, the ice cream won't set up properly when freezing.
- Freeze Time: The ice cream needs to freeze for at least 4 hours before eating. I recommend freezing overnight if you can.
Recipe FAQs
Churn ice cream contains eggs, whereas no churn ice cream does not. Sweetened condensed milk is also used to sweeten no churn ice cream instead of granulated sugar.
If you prefer milk chocolate, use that instead of dark chocolate. I love an intense chocolate flavor, which is why I chose dark.

If you made this recipe, please leave a comment and star rating below. I love hearing from you! Also, please tag me on Instagram and check out my Pinterest for even more recipe ideas.
It brings me so much joy to see you make my recipes. 🙂
Happy Baking!
More No Bake Recipes
📖 Recipe
No Churn Chocolate Ice Cream
Equipment
- 9-inch Bread Pan
- Electric Stand Mixer
- Mixing Bowls
- Rubber Spatula
- Ice Cream Scoop
Ingredients:
- 2 cup heavy whipping cream
- 4 ounces dark chocolate, chopped and melted
- 14 ounce sweetened condensed milk
- ¼ cup dark or unsweetened cocoa powder, sifted
- 1 teaspoon vanilla extract
- ¼ teaspoon salt
Instructions:
- In the bowl of an electric stand mixer using the whisk attachment, beat the heavy whipping cream on high speed until stiff peaks form (1-2 minutes). Put the bowl in the refrigerator while you prepare the other components.
- In a small microwaveable-safe bowl, melt the chopped chocolate in 20-second intervals, stirring well after every 20 seconds until melted and smooth.
- In a large bowl, whisk together the melted chocolate, sweetened condensed milk, cocoa powder, vanilla extract, and salt until combined. Fold in ½ cup of the whipped cream using a rubber spatula and then gently fold in the rest until smooth and fully combined.
- Spread the ice cream mixture into the bread pan and cover with foil. Freeze for at least 4 hours (overnight preferred).
- The ice cream will last for up to 2 months in the freezer.
Notes:
Nutrition
This recipe was originally published in July of 2020, but was updated on May 16, 2023 with newer content and fresh pictures.


wow! looks delicious and creamy! ripper of a post!
thank you so much for sharing this recipe.
Can’t believe how easy this ice cram is to make! Will surely be making this soon. Thanks for the amazing recipe
I love how easy it is too! Hope you enjoy it!