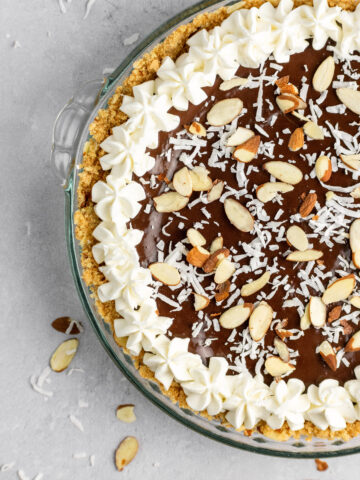
This chocolate pie with graham cracker crust is super simple to make and is 100% no bake. The chocolate filling is decadent, creamy, and made with two different types of chocolate. Plus, it's topped with homemade whipped cream and chocolate shavings!

This easy chocolate cream pie has a chocolate pudding filling that sits on top of a buttery graham cracker crust. True chocolate addicts will absolutely love this homemade pie!
While you make the chocolate pudding on the stove, the crust sets up in the freezer. You don't even have to turn on the oven!
Looking for more chocolate desserts? Then check out these: no churn chocolate ice cream, chocolate peanut butter cupcakes, and chocolate sprinkle cookies.
Jump to:

Why You'll Love This Pie
- It's no bake.
- The homemade graham cracker crust is sweet and buttery.
- Whipped cream is added to the top of the pie.
- The chocolate layer is smooth and creamy.
- It's perfect to make year round, especially during the holiday season!
Fruit pies are good, but there's something so special about a creamy chocolate pie! Especially when it's topped with whipped cream!
I used to love using an instant chocolate pudding mix whenever I made pie before I became a self-taught home baker, but this chocolate pie recipe is truly so easy to make. The taste alone is worth it!

Ingredients Needed
Here are some notes on the simple ingredients we'll be using. For the full ingredients list, look at the recipe card below.
- Graham Crackers: I used honey graham crackers, but you could make a chocolate crust by using chocolate graham crackers or Oreos for an Oreo crust.
- Butter: Use unsalted butter.
- Milk: I used 2% milk, but you could also use whole milk.
- Cocoa Powder: I used unsweetened cocoa powder but you could also use any dutch-processed or natural cocoa powder (like Hershey's).
- Corn Starch: This is used to help thicken the pudding.
- Egg yolks: Adds richness and also helps to thicken the chocolate mixture.
- Chocolate Bar: I used a dark chocolate bar, but you could also use semi-sweet or milk chocolate.
- Heavy Whipping Cream: Used to make the whipped cream. Do not substitute it with heavy cream. They are not interchangeable.

Instructions
Here are the step by step instructions on how to make this no bake chocolate pudding pie.
Step 1: Make the crust. Use a food processor to pulse the crackers into fine crumbs. In a medium bowl, combine the graham cracker crumbs, melted butter, and brown sugar.
Step 2: Freeze. Press the crumbs firmly down into a greased pie pan using your fingers or the bottom of a measuring cup. Then gently press against the sides of the dish. Freeze until ready to use.


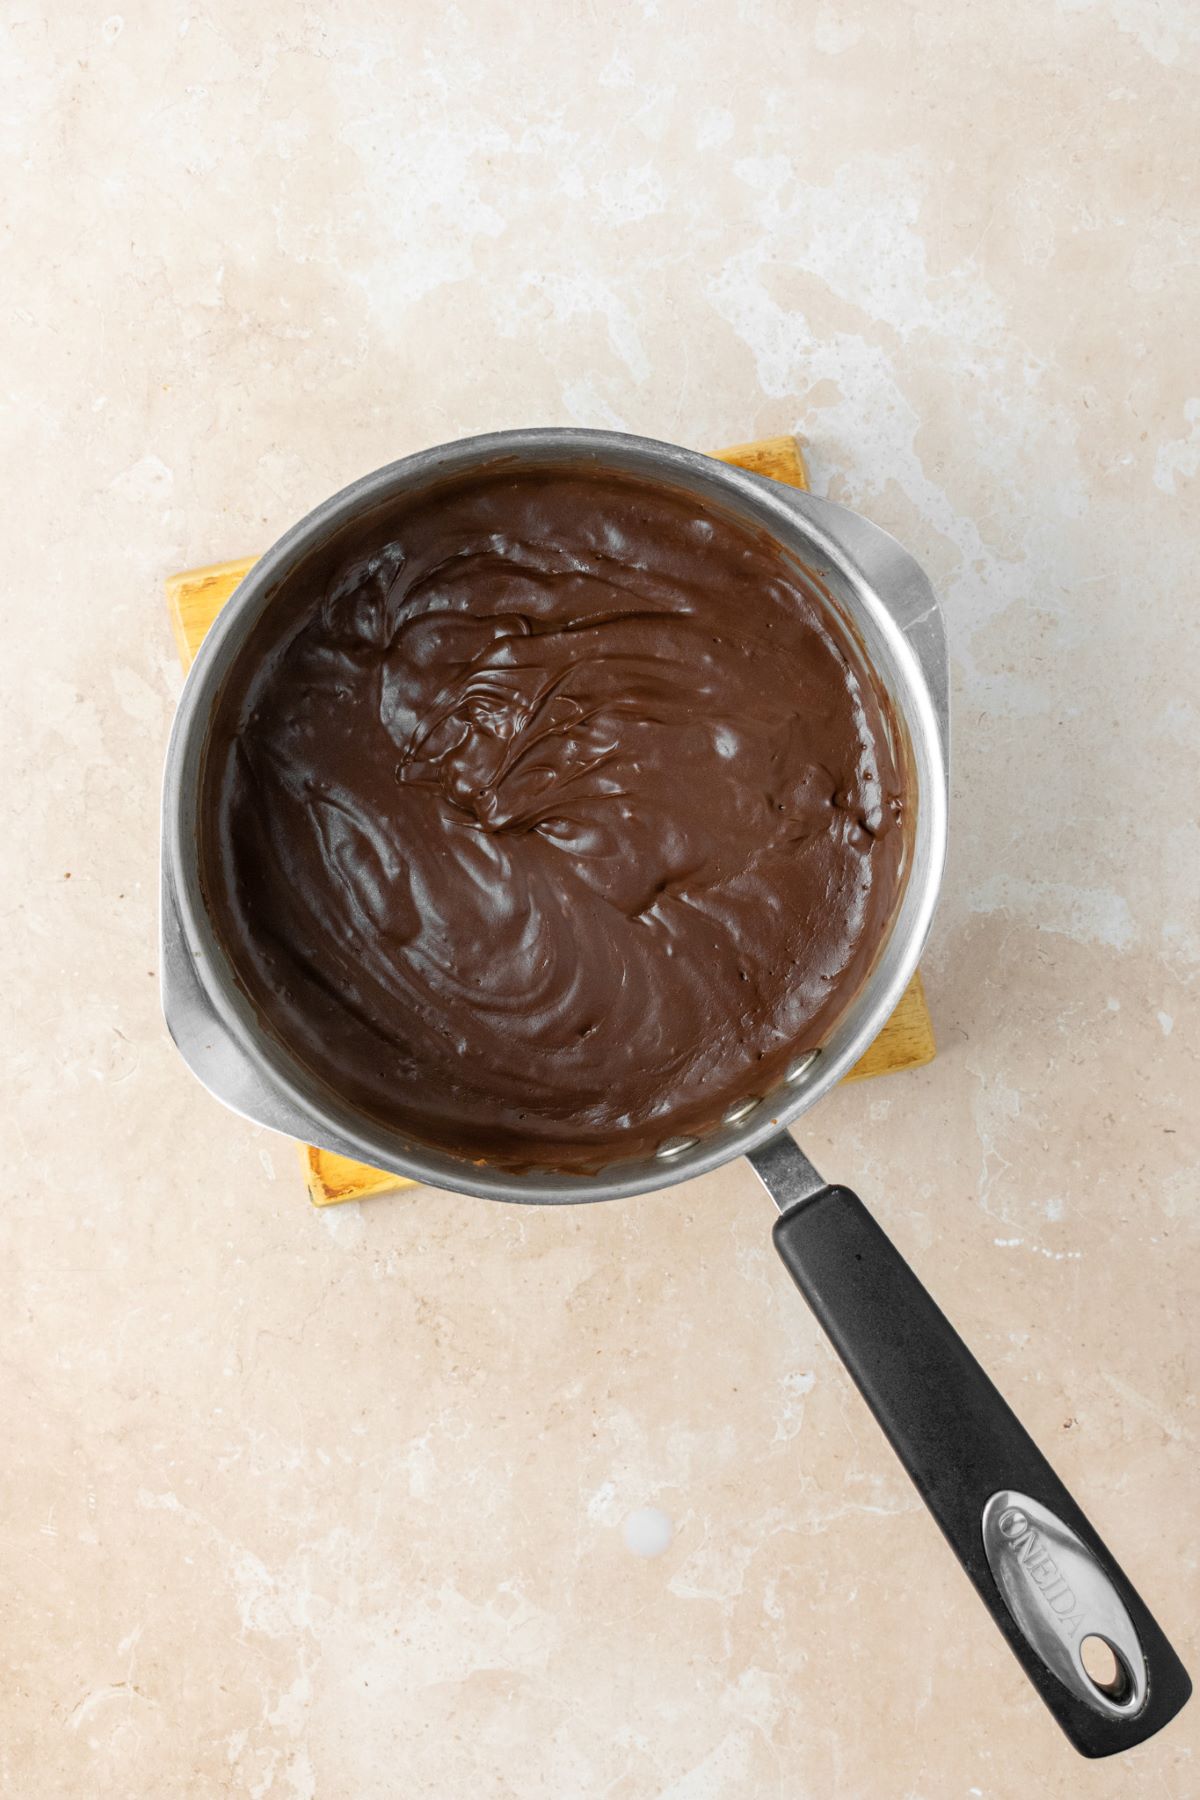
Step 3: Make the filling. In a medium saucepan over medium heat, whisk together the milk, cocoa powder, sugar, corn starch, salt, and egg yolks.
Occasionally whisk until the mixture starts to boil and thicken. Remove from the heat.
Step 4: Add the remaining ingredients. Whisk in the chopped chocolate, butter, and vanilla extract. Mix until completely melted and incorporated into the chocolate mixture.

Step 5: Chill the pie. Pour the pudding over the graham cracker pie crust and chill in the refrigerator for 3 hours or until set.
Step 6: Make the whipped cream. In a large bowl of a stand mixer using the whisk attachment, beat the heavy whipping cream, sugar, and vanilla extract on high speed until stiff peaks form.
Decorate The Pie
Once the pie has set, add the whipped cream. I used a piping tip to decorate around the border of the pie. You could also use an offset spatula to spread the whipped topping over the entire pie.
I then used a potato peeler to make chocolate shavings. Sprinkle that over the top of the whipped cream.

Storage Tips
Keep any leftover pie slices in an airtight container or use plastic wrap to cover the whole pie plate. This pie will last in the refrigerator for up to 4 days.
Expert Baking Tips
- Pie Pan: Grease a 9.5-inch pie plate with cooking spray. This will make it a lot easier to remove each pie slice.
- Crust: When making the filling, be sure to freeze the crust. This helps the butter to solidify once again.
- Pudding Mixture: Be sure to whisk the pudding occasionally while it's cooking to avoid burning.
- Chill Time: The pie needs to chill in the refrigerator for at least 3 hours before decorating and serving.
- Decorating: Feel free to decorate the top of your pie however you'd like! You could cover the whole pie with whipped cream or make a border with it like I did.
Recipe FAQs
This could happen if you didn't let the mixture cook long enough to thicken or it didn't chill in the refrigerator for at least 3 hours. Once the chocolate mixture starts to boil on the stovetop, whisk constantly for about 30 seconds. The pudding will be quite thick.
Instead of homemade whipped cream you could always use cool whip. You could also use an instant pudding mix instead of making your own. This recipe is so easy, though, so I highly recommend you make everything. It's definitely worth it!
I haven't tried this, but it should work.

If you made this recipe, please leave a comment and star rating below. I love hearing from you! Also, please tag me on Instagram and check out my Pinterest for even more recipe ideas.
It brings me so much joy to see you make my recipes. 🙂
Happy Baking!
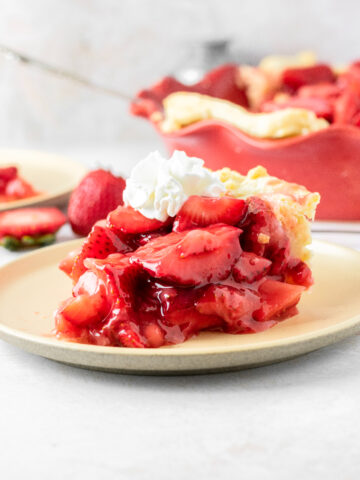
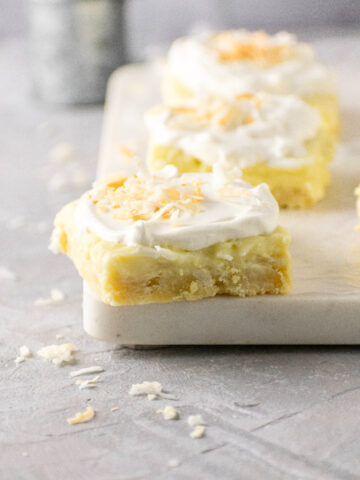
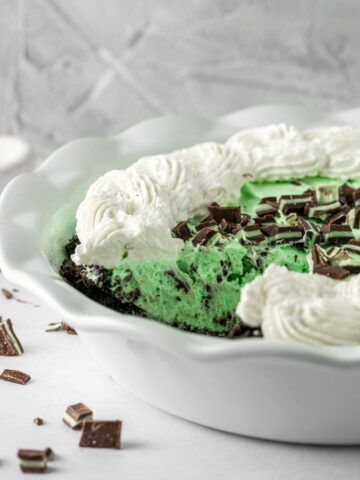
More Pie Recipes
📖 Recipe

Chocolate Pie with Graham Cracker Crust
Equipment
- 9.5 Inch Pie Plate
- Food Processor
- Medium Saucepan
- Whisk
Ingredients:
Graham Cracker Crust
- 10 graham cracker sheets, crumbs (about 1 ¼ cups)
- 6 tablespoons unsalted butter, melted
- 2 tablespoons brown sugar
Chocolate Filling
- 2 ¾ cups milk
- ½ cup unsweetened cocoa powder, sifted
- ½ cup sugar
- ¼ cup corn starch
- ¼ teaspoon salt
- 4 egg yolks, room temperature preferred
- 4 ounces semi-sweet or bittersweet chocolate, finely chopped
- 3 tablespoons unsalted butter, cubed
- 1 teaspoon vanilla extract
Whipped Cream
- 1 cup heavy whipping cream
- 2 tablespoons sugar
- ¼ teaspoon vanilla extract
- chocolate shavings (optional)
Instructions:
Graham Cracker Crust
- Spray a 9.5 inch pie plate with non-stick spray. Set aside.
- Use a food processor or blender to pulse the graham crackers into fine crumbs. In a medium bowl, mix together the graham cracker crumbs, melted butter, and brown sugar.
- Pour the crumbs into the prepared pie plate and use your fingers or the bottom of a ¼ measuring cup to press the crumbs into the bottom of the plate and up the sides. Place the crust in the freezer while you make the filling
Chocolate Filling
- In a medium saucepan over medium heat, whisk together the milk, cocoa powder, sugar, corn starch, salt, and egg yolks until fully combined.
- Whisk occasionally until it starts to boil (5-10 minutes). Once boiling and thick, whisk for an additional 30 seconds and remove from the heat.
- Whisk in the chopped chocolate bar, butter, and vanilla extract until fully combined and melted. Then pour the chocolate pudding mixture over the graham cracker crust. Cover the pie with plastic wrap, making sure it touches the hot pudding (this helps to avoid a skin on top). Chill for at least 3 hours.
Whipped Cream
- Once the pie has set, make the whipped cream. In the bowl of an electric stand mixer using the whisk attachment, whisk together the heavy whipping cream, sugar, and vanilla extract on high speed for 2-3 minutes (or until stiff peaks).
- Top the pie with the whipped cream and chocolate shavings. For the chocolate shavings I used a potato peeler to shave off chocolate from a chocolate bar (this part is optional).
- Keep any leftover pie slices in an airtight container in the refrigerator for up to 4 days.
Video
Notes:
Nutrition
Check out even more of my top rated summer dessert recipes and let me know which one you'll try next!


Smooth chocolatey very easy receipe
Thank you for sharing, Deb!!
Great flavor but it stayed like pudding. Any suggestions?
Hi Shelley! I'm glad you loved the flavor of the pie! The chocolate filling is a homemade chocolate pudding, so you made this recipe correctly. 🙂
Soooo good!!! I used store bought crust and did dairy free substitutes. It came out perfect.
I'm so glad you enjoyed this pie, Taylor! And awesome to hear about the dairy free substitutes!