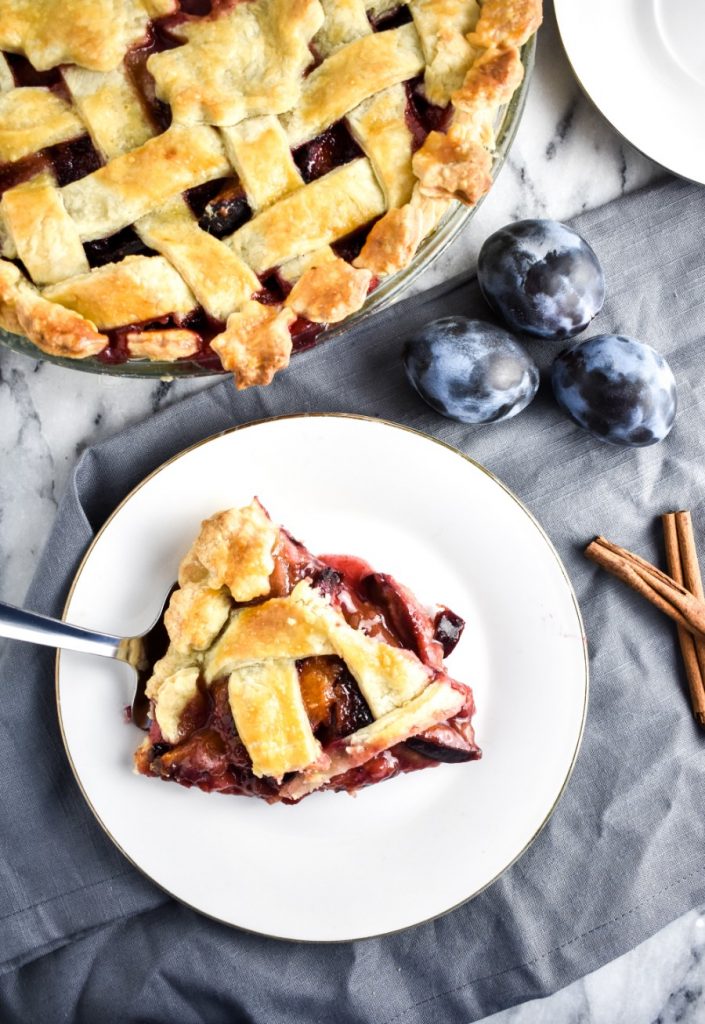
This juicy and extremely delicious cinnamon plum pie is perfect for your end of Summer or the beginning of Fall celebrations! It has the perfect amount of cinnamon spice to go well with my flaky all-butter pie crust.
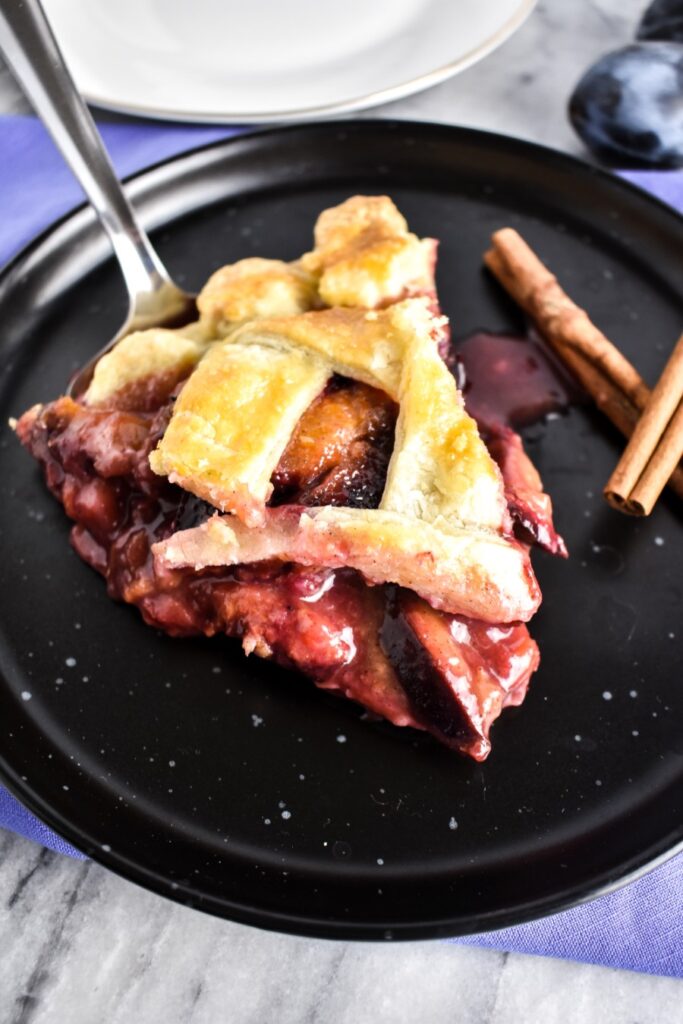
Pie season is upon us! And since it's still technically summer, I thought I'd bring you another plum recipe.
Just like with my plum streusel muffins, this cinnamon plum pie is made with juicy dark red plums!
I don't know about you, but I always forget about plums! Maybe it's because they are a late summer early Fall fruit in the Pacific Northwest and by late summer you know I'm already thinking about all things pumpkin.
But, you need to include this pie with all of your Fall and holiday baking this year! Up until now I had never had a plum pie, let alone heard of one!
All I've got to say is, I hope you're ready for your new favorite pie flavor because I can guarantee this cinnamon plum pie will not disappoint!
Also, I will teach you how to make your own pie crust! You'll have no need for store bought ever again after today.
What Makes This Plum Pie So Irresistibly Delicious:
- Juicy dark red plums.
- 2 whole teaspoons of cinnamon is used.
- Homemade all-butter pie crust!
- Tender plum filling surrounded by a flaky crust.
- Makes for a great end of Summer dessert or even the beginning of Fall.
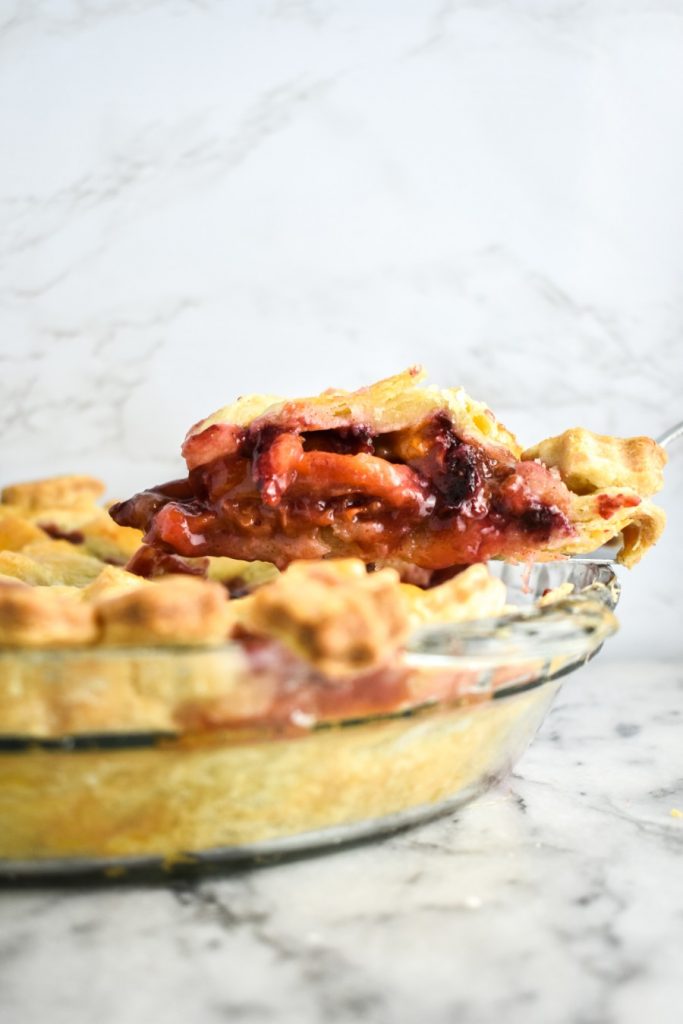
Should I Peel Plums For Pie?
This is always the question when it comes to baking fruit, isn't it? The short answet is no, you do not need to peel your plums for pie.
Peeling the skins off of fruit before baking is a personal preference in my opinion. I find it's more work to peel skins off of apples, peaches, and plums when for me it doesn't make a difference to the final baked product.
In my recipes for peach crisp, apple crisp, and even apple pie, I do not peel the skins off. I leave the choice up to you since I know we all have different preferences.
So if you'd rather have the plum skins peeled off, go for it! Don't care? Then leave them on as I do.
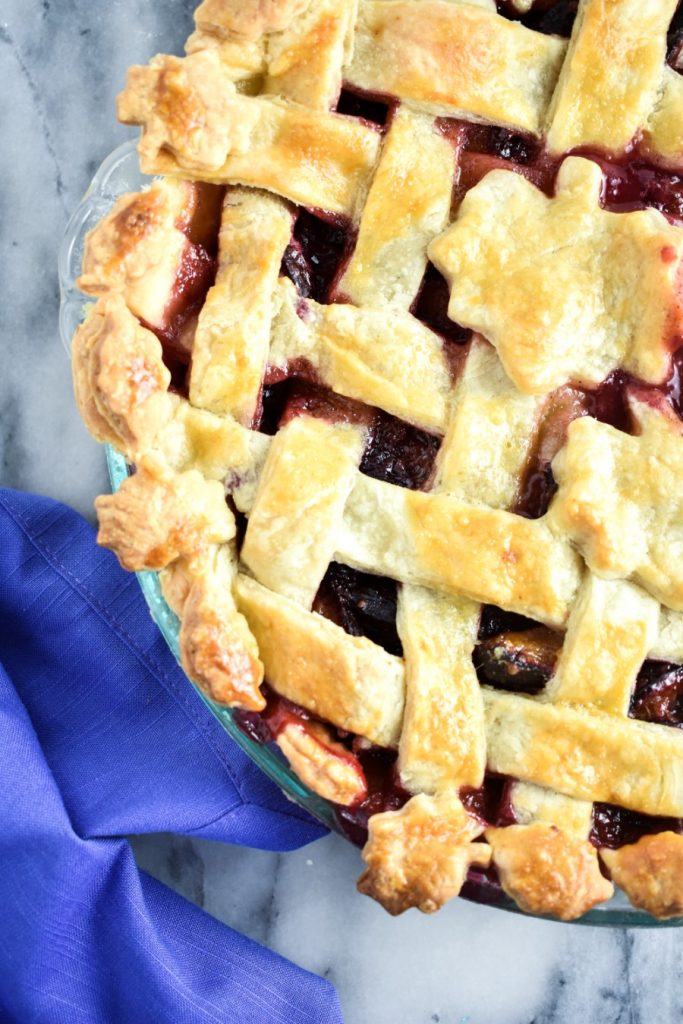
Ingredients In Cinnamon Plum Pie:
- Plums: You can choose whichever plums you'd like! I used the dark red ones.
- Brown Sugar: Used for a rich dark sweetness in the pie filling.
- All-Purpose Flour: Helps to thicken the pie juices.
- Lemon Juice: Adds a tart flavor to the sweet plums.
- Cinnamon: Warm spice flavor that compliments the plums.
- Vanilla Extract: Added flavor.
How To Make An All-Butter Pie Crust:
Making your own pie crust is a lot easier than you think! Just follow the simple steps below and you'll have two pie crusts in no time!
- In a large bowl combine your flour and salt. Add the cubes of cold butter and use a pastry cutter to cut the butter into the flour until the mixture resembles coarse crumbs.
- Add 2 tablespoon of ice water at a time, mixing with a wooden spoon 2-3 times before adding 2 more tablespoons. The dough will start to feel slightly sticky and large clumps will form. That's when you know to stop adding the ice water (I add between 8-10 tbsp).
- On a lightly floured surface, dump out your pie dough and press and fold the dough a few times until a ball starts to form. Cut the dough in half and flatten each piece into a disk shape. Wrap up in saran wrap and place both pie doughs into the refrigerator to chill for later.
How To Make Cinnamon Plum Pie From Scratch:
Make your all-butter pie crust first before making your plum filling.
- Preheat the oven to 375 degrees and spray your 9-inch pie pan with non-stick spray.
- Slice your plums into ¼-inch slices and toss them into a large bowl. Add the brown sugar, flour, lemon juice, cinnamon, and vanilla extract into the bowl with the plums. Mix all of the ingredients together thoroughly until the plums are well coated.
- On a lightly floured surface, roll out one of the pie doughs using a rolling pin, turning the dough slightly each time until a circle forms. We want about an 11 to 12-inch circle diameter. Place the dough into your 9-inch pie pan, carefully letting the excess pie dough hang over the sides. Pour the plum filling into the crust, including the juices. Cut off the excess pie dough that is hanging over the sides using a pairing knife.
For this recipe, I made a lattice pie crust to go over the top of the plum filling. Below are the steps to create your own lattice pie crust.
- Lattice Crust: Lightly flour your surface again and begin rolling out your other pie crust into another 11 to 12-inch circle. Take a pizza cutter and cut the dough into 12 1-inch strips. Take 6 of those strips and lay them evenly spaced out on top of the pie filling vertically (up and down).
- Fold back every other strip (3 total) so they're almost falling off of the pie. Lay one of the 6 unused pie dough strips horizontally and pull back down the 3 vertical strips that were hanging off the side of the pie.
- Fold back the other 3 vertical strips as you did in the last step, letting them hang over the pie, and lay one of the 5 unused pie dough strips horizontally. Pull back down the 3 vertical strips. You should start to see the beginning of your woven design!
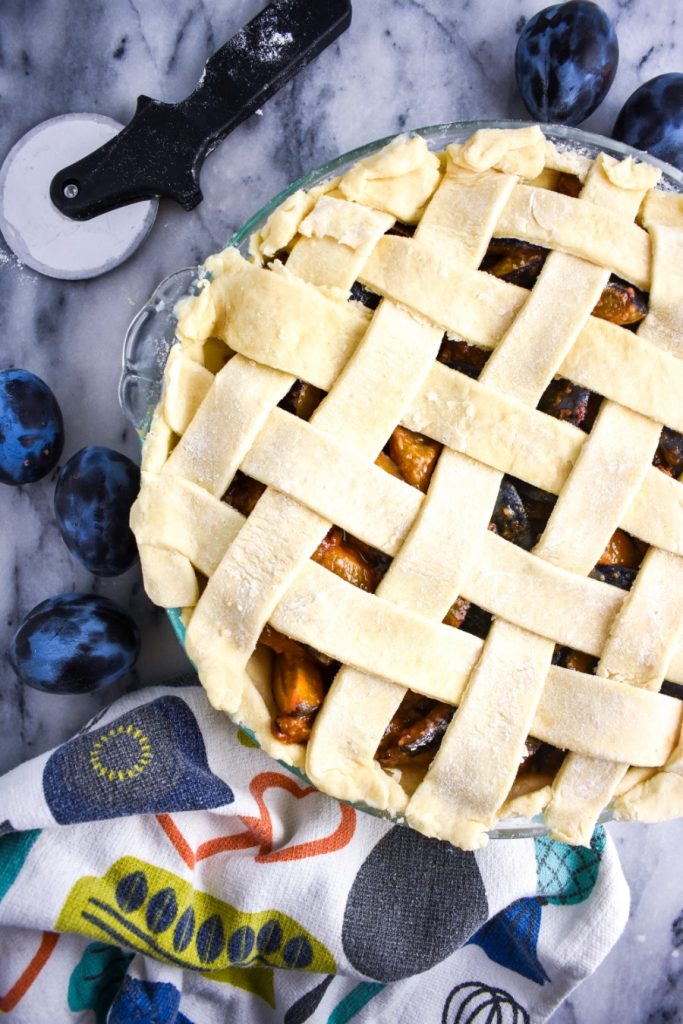
- Continue with folding back every other vertical strip and laying down one of the unused pie dough strips horizontally until your lattice pie crust is completed. Use your fingers to pinch the excess pie dough from the strips around the edge of your pie pan.
- Use a brush to do an egg wash over the top of your lattice crust. This will give the crust a nice golden brown color as it bakes.
- Bake your pie at 375 degrees for 20 minutes, then turn the temperature down to 350 degrees and bake for an additional 40-45 minutes. Allow your pie to cool at room temperature for 3 hours before slicing. This allows the pie to thicken up as it cools.
If you're still confused about how to make your own lattice crust, Sally at Sally's Baking Addiction has a great video tutorial where she walks you step by step through the process. If you are more of a visual learner, this should really help you!
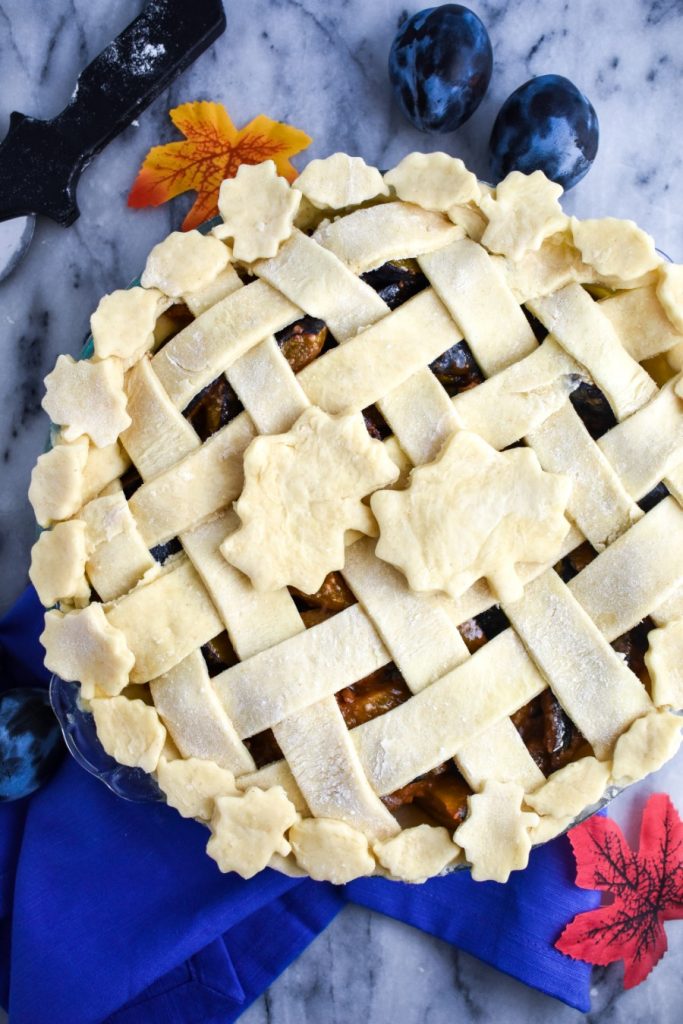
Once you have your entire pie assembled you will probably have some left over pie dough. This is the point where you can be really creative and add your own touch to the pie!
I used some cute Fall leaf cookie cutters on the extra pie dough and placed them around my plum pie. I got my cookie cutters from Hobby Lobby, but these right here are very similar to the ones I have.
They are so cute and I love what it adds to the pies design!
Expert Baking Tips
- Pastry Cutter: To make your pie dough, you will either need to use a pastry cutter or a food processor to combine your butter with the flour. I like to use my pastry cutter when making pie dough. It's super easy!
- Cold Butter: It’s very important that our butter is as cold as possible when making the pie crust. Cut your butter into cubes and place back into the fridge until ready to use.
- Ice Water: It's important that we use ice water in our pie crust. Take a normal drinking cup and fill it with water. Place 3-4 ice cubes into the cup. We will then use tablespoons to measure out our ice water as we add it to the pie dough.
- Baking Sheet: Once your pie is filled in the pie pan, place it on a baking sheet before placing it into the oven. Since this is an all-butter pie crust it can make a bit of a mess in your oven as it starts to bake because the butter drips. I learned the hard way my first time by not placing the pie pan on a baking sheet. So skip the mess and use a baking sheet!
- Baking Temperatures: We will start off by baking at 375 degrees for 20 minutes. This will start the browning process on top of the pie crust. Then we will turn the temperature down to 350 degrees and bake for 40-45 minutes. The reason we turn the temperature down is so that the crust doesn’t overcook as the plum filling is baking.
If you made this recipe, please leave a comment and star rating below. I love hearing from you! Also, please tag me on Instagram and check out my Pinterest for even more recipe ideas.
It brings me so much joy to see you make my recipes. 🙂
Happy Baking!
More Fall Flavors To Try
📖 Recipe
Cinnamon Plum Pie
Equipment
- 9-inch pie pan
- Pastry Cutter
- Rolling Pin
Ingredients:
All Butter Pie Crust:
- 2 ½ cups all-purpose flour
- 1 teaspoon salt
- 1 cup unsalted butter, cold & cubed
- 8-12 tablespoon ice water
Cinnamon Plum Pie:
- 5 cups plums, sliced into ¼-inch slices
- ½ cup brown sugar
- ¼ cup all-purpose flour
- 1 ½ tablespoon lemon juice
- 2 teaspoon cinnamon
- ½ teaspoon vanilla extract
- 1 large egg (used for egg wash on top of the pie crust)
Instructions:
Pie Crust:
- In a large bowl (or a food processor) combine your flour and salt. Add the cubes of butter and use a pastry cutter to cut the butter into the flour until the mixture resembles coarse crumbs (if you're using the food processor press the pulse button 4-6 times).
- Add 2 tablespoon of ice water at a time, mixing with a wooden spoon 2-3 times before adding 2 more tablespoons. The dough will start to feel slightly sticky and large clumps will form. That's when you know to stop adding the ice water (I add between 8-10 tbsp).
- On a lightly floured surface, dump out your pie dough and press and fold the dough a few times until a ball starts to form. Cut the dough in half and flatten each piece into a disk shape. Wrap up in saran wrap and place both pie doughs into the refrigerator to chill for later.
Plum Pie Filling:
- Preheat the oven to 375 degrees and spray your 9-inch pie pan with non-stick spray.
- Slice your plums into ¼-inch slices and toss them into a large bowl (peeling is optional). Add the brown sugar, flour, lemon juice, cinnamon, and vanilla extract into the bowl with the plums. Mix all of the ingredients together thoroughly until the plums are well coated.
- On a lightly floured surface, roll out one of the pie doughs using a rolling pin, turning the dough slightly each time until a circle forms. We want about an 11 to 12-inch circle diameter (if it's not a perfect circle, that's okay!). Place the dough into your 9-inch pie pan, carefully letting the excess pie dough hang over the sides. Pour the plum filling into the crust, including the juices. Cut off the excess pie dough that is hanging over the sides using a pairing knife.
- Lattice Pie Crust: Lightly flour your surface again and begin rolling out your other pie crust into another 11 to 12-inch circle. Take a pizza cutter and cut the dough into 12 1-inch strips. Take 6 of those strips and lay them evenly spaced out on top of the pie filling vertically (up and down).
- Fold back every other strip (3 total) so they're almost falling off of the pie. Lay one of the 6 unused pie dough strips horizontally and pull back down the 3 vertical strips that were hanging off the side of the pie.
- Fold back the other 3 vertical strips as you did in the last step, letting them hang over the pie, and lay one of the 5 unused pie dough strips horizontally. Pull back down the 3 vertical strips. You should start to see the beginning of your woven design!
- Continue with folding back every other vertical strip and laying down one of the unused pie dough strips horizontally until your lattice pie crust is completed. Use your fingers to pinch the excess pie dough from the strips around the edge of your pie pan. `
- In a small bowl mix up your egg and use a brush to do an egg wash over the top of your lattice crust. This will give the crust a nice golden brown color as it bakes.
- Bake your pie at 375 degrees for 20 minutes, then turn the temperature down to 350 degrees and bake for an additional 40-45 minutes. Allow your pie to cool at room temperature for 3 hours before slicing. This allows the pie to thicken up as it cools.


I just pinned this recipe because I absolutely HAVE to try it for myself! It sounds like the perfect holiday dessert, and I've been dying to try baking with plums!
It would make for a great holiday dessert! Hope you enjoy it, Stephanie!
Hello, I'm wondering if I can make this filling and freeze it? I have alot of plums to use up and would love to be able to have some during the long winter months. Thanks for your reply!
I would recommend just freezing the plum slices and when you're ready to bake the pie in the months to come, then make the filling with the frozen plums. My family has done this numerous times and it works really well!