This Andes Mint pie recipe has an Oreo crust, a creamy mint pie filling, and is covered in plenty of chopped Andes Mints. This is a no bake pie recipe that's perfect for the holiday season and those warm summer months.

This no bake mint chocolate chip pie uses peppermint extract and mint candies to create the most perfect chocolate mint bite.
The chocolate cookie crust is made out of Oreo cookies and has plenty of melted butter mixed into it.
Looking for more mint recipes? Then check out these: candy cane brownies, chocolate mint cake, and mint chocolate chip cookies.
Jump to:

Why You'll Love This Pie
- The chocolate crust is buttery and crunchy.
- It's 100% no bake.
- Andes Mints are folded into the filling.
- Homemade whipped cream is added to the top of the pie.
- You can serve it for Thanksgiving and Christmas!
One of my favorite ice cream flavors is mint chocolate chip ice cream, and this pie tastes exactly like it!
It's creamy, smooth, and has the perfect amount of mint flavor.

Ingredients Needed
Here are some notes on the simple ingredients we'll be using. For the full ingredients list, look at the recipe card below.
- Oreos: For the Oreo cookie crust, use regular. I don't recommend using double stuffed because of how much cream there is. You could use the mint Oreos if you wanted!
- Heavy Whipping Cream: Do not substitute with heavy cream. They are not the same!
- Cream Cheese: Use full fat cream cheese, not the low fat version.
- Peppermint Extract: All you need is a little bit of extract just to enhance the overall mint flavor in the pie.
- Green Food Coloring: This is optional, but I used a green gel food coloring.
- Andes Mints: If you can't find them in the store, you can buy them online here.

Instructions
Here are the step by step instructions on how to make this mint chocolate pie.
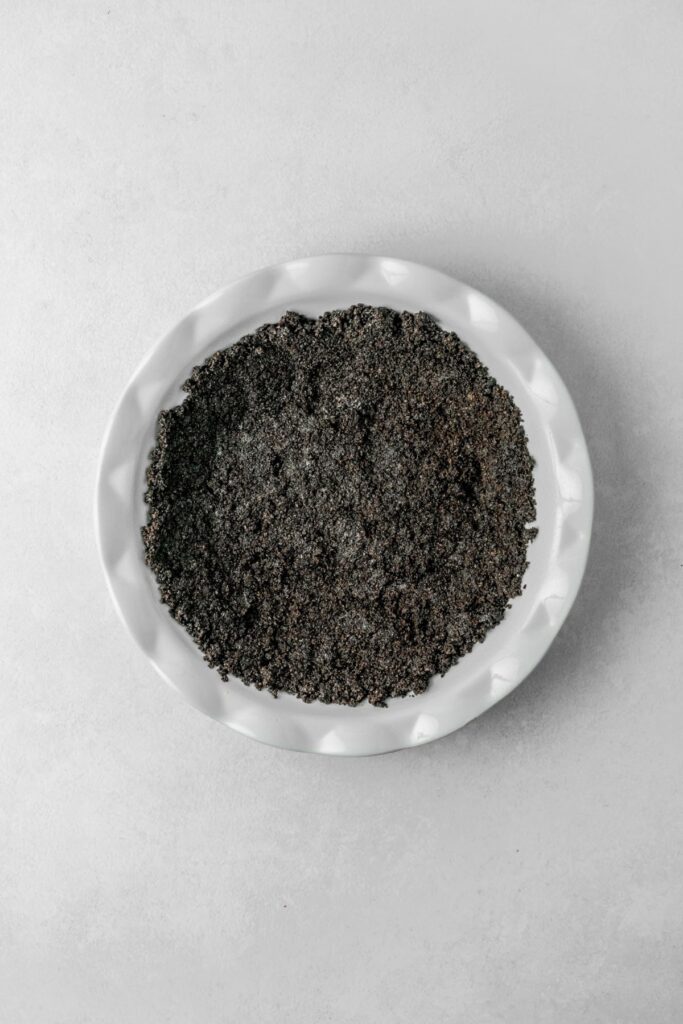
Step 1: Make the crust. Use a food processor to pulse the cookies into fine crumbs. In a medium bowl, combine the cookie crumbs and melted butter.
Step 2: Freeze. Press the crumbs firmly down into a greased pie pan using your fingers or the bottom of a measuring cup. Then gently press against the sides of the dish. Freeze until ready to use.

Step 3: Make the whipped cream. In a large bowl of a stand mixer using the whisk attachment, beat the heavy whipping cream on high speed until stiff peaks.
Place into a small bowl and put it in the refrigerator.
Step 4: Beat the cream cheese. In that same large mixing bowl using the electric mixer, beat the cream cheese, powdered sugar, vanilla extract, and peppermint extract on medium-high speed until combined.


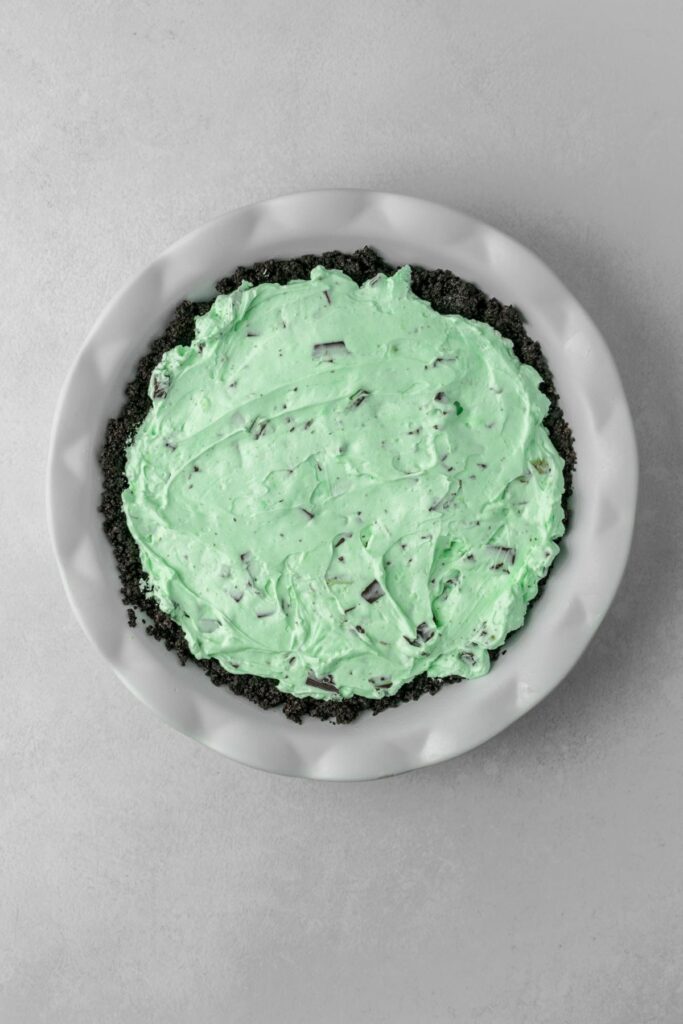
Step 5: Fold everything together. Gently fold in the whipped cream and then the chopped mints into the pie mixture. Scrape the entire filling over the top of the crust and use an offset spatula to smooth out.
Step 6: Chill. Cover the pie plate with aluminum foil or plastic wrap and chill in the refrigerator for at least 6 hours.
Decorate The Pie
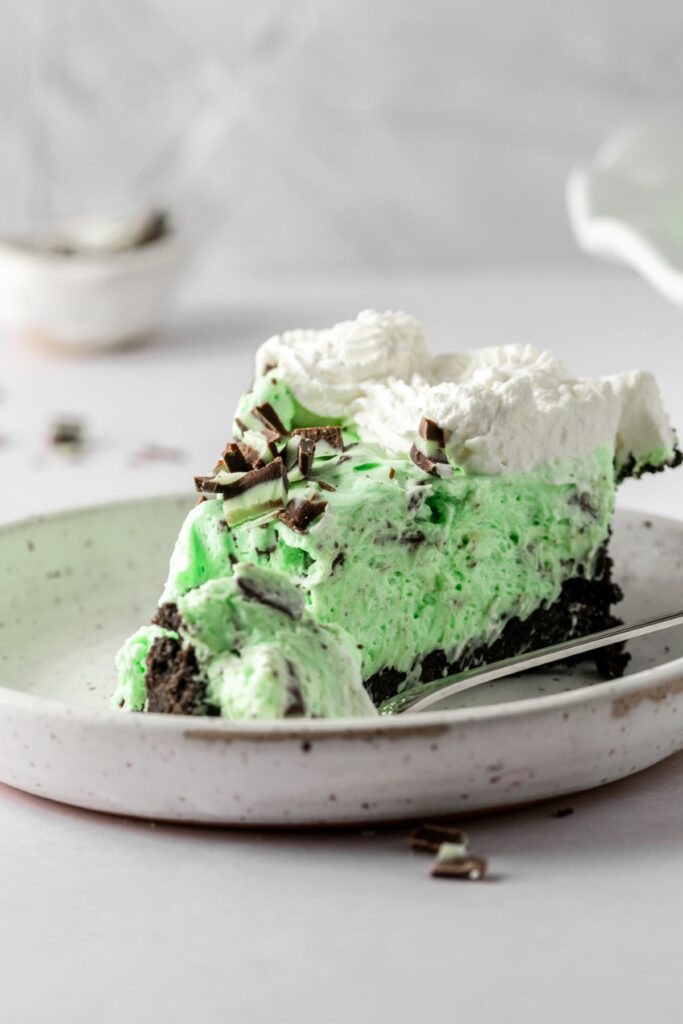
Once the pie has set, add the whipped cream. I used a piping tip to decorate around the border of the pie. You could also use an offset spatula to spread the whipped topping over the entire pie.
Then add some extra chopped Andes Mints.
Slice, serve, and enjoy!
Storage Tips
Keep any leftover pie slices in an airtight container or use plastic wrap to cover the whole pie plate. This pie will last in the refrigerator for up to 4 days.
Do not leave it out at room temperature or it will spoil.
Expert Baking Tips
- Pie Pan: Grease a 9.5-inch pie plate with cooking spray. This will make it a lot easier to remove each pie slice. You could also use a 9-inch pie plate.
- Crust: When making the filling, be sure to freeze the crust. This helps the butter to solidify once again.
- Whipped Cream: Gently fold the whipped cream into the pie filling using a rubber spatula. If you are too rough, the pie might not set up properly.
- Chill Time: The pie needs to chill in the refrigerator for at least 6 hours before decorating and serving.
- Homemade Whipped Cream: An optional topping for the pie is whipped cream. Simply whisk together 1 cup of heavy whipping cream, 2 tablespoons of sugar, and ¼ teaspoon of vanilla extract using your electric stand (or handheld) mixer on high speed for 2-3 minutes.
Recipe FAQs
I love to make my own pie crust because it's super easy! But, you could always buy one from the store if you prefer that option.
For the filling, no. I'm not sure how cool whip would effect the pie when setting up in the refrigerator. If you wanted to top your pie with cool whip that's totally fine!
To add even more chocolate flavor you could fold in ⅓ cup of mini chocolate chips to the pie filling. You could also add some to the top of the pie once set.

If you made this recipe, please leave a comment and star rating below. I love hearing from you! Also, please tag me on Instagram and check out my Pinterest for even more recipe ideas.
It brings me so much joy to see you make my recipes. 🙂
Happy Baking!
More Pie Recipes
📖 Recipe

Andes Mint Pie Recipe-No Bake
Equipment
- 9.5 Inch Pie Plate
- Food Processor
- Electric Stand Mixer
- Offset Spatula
Ingredients:
Oreo Crust
- 25 Oreos, crumbs
- 6 tablespoons unsalted butter, melted
Andes Mint Pie
- 1 cup heavy whipping cream
- 8 ounces block-style cream cheese, room temperature
- ¾ cup powdered sugar
- 1 teaspoon vanilla extract
- ¼ teaspoon peppermint extract
- ⅛ teaspoon green food gel coloring
- 1 cup chopped Andes Mints (22) plus extras to garnish the top
Instructions:
Oreo Crust
- Spray a 9.5 inch pie plate with non-stick spray. Set aside.
- Place the Oreo cookies into a food processor or blender and pulse until fine crumbs. Pour the crumbs into a medium-sized mixing bowl and add the melted butter. Mix together until combined.
- Pour the crumbs into the prepared pie plate and use your fingers or the bottom of a ¼ measuring cup to press the crumbs into the bottom of the plate and up the sides. Place the crust in the freezer while you make the filling.
Andes Mint Pie
- In the bowl of an electric stand mixer using the whisk attachment, beat the heavy whipping cream on high speed until stiff peaks (2-3 minutes). Scrape the whipped cream into a small bowl and set aside.
- In the same bowl (you don't have to clean it first) but using the paddle attachment, beat the cream cheese, powdered sugar, vanilla extract, peppermint extract, and green food coloring on medium-high speed until smooth and creamy (1-2 minutes). Scrape the sides of the bowl a few times during this process.
- Remove the bowl from the stand mixer and use a rubber spatula to gently fold in a ½ cup of whipped cream. Once combined, fold in the rest. Then fold in the chopped Andes Mints.
- Pour the pie filling over the Oreo crust and use an offset spatula to spread it out evenly. Cover with foil or plastic wrap and place in the refrigerator to chill for at least 6 hours.
Assemble
- Once the pie has set, add whipped cream and more chopped Andes Mints over the top of the pie. Slice and then serve.
- Keep any leftover pie slices in an airtight container in the refrigerator for up to 4 days.
Notes:
- Pie Pan: Grease a 9.5-inch pie plate with cooking spray. This will make it a lot easier to remove each pie slice. You could also use a 9-inch pie plate.
- Crust: When making the filling, be sure to freeze the crust. This helps the butter to solidify once again.
- Whipped Cream: Gently fold the whipped cream into the pie filling using a rubber spatula. If you are too rough, the pie might not set up properly.
- Chill Time: The pie needs to chill in the refrigerator for at least 6 hours before decorating and serving.
- Homemade Whipped Cream: An optional topping for the pie is whipped cream. Simply whisk together 1 cup of heavy whipping cream, 2 tablespoons of sugar, and ¼ teaspoon of vanilla extract using your electric stand (or handheld) mixer on high speed for 2-3 minutes.






Leave a Reply