This black velvet cake recipe has a natural black color that tastes just like the outer shell of Oreo cookies. Black cocoa powder is used in both the cake layers and to make the black buttercream. This would be a perfect cake to serve at any Halloween party.
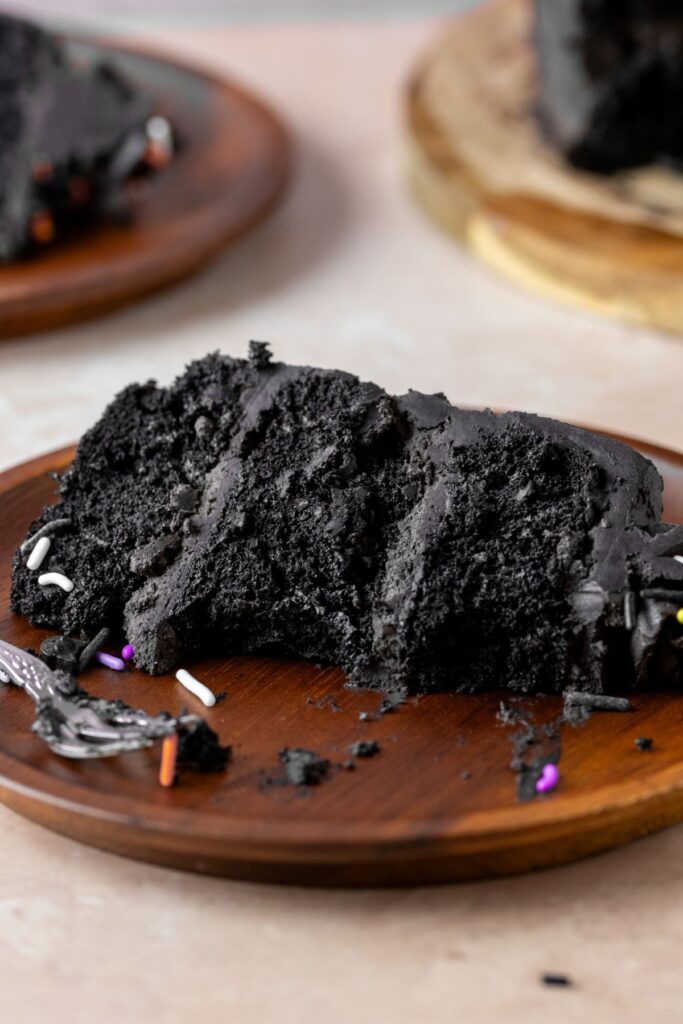
This spooky black velvet cake is just like your favorite chocolate cake recipe, but uses black cocoa powder instead of regular cocoa powder.
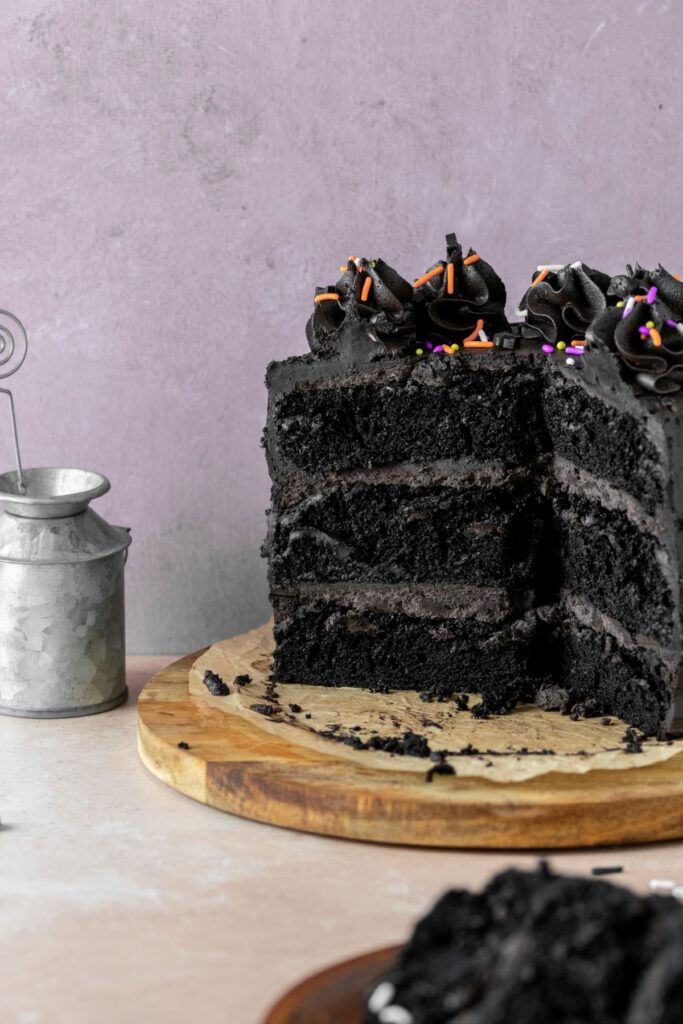
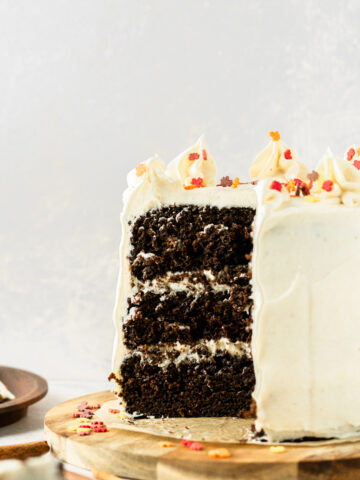
It's a three layered cake that's super moist, soft, and filled with so much rich chocolate flavor! I even decorated the top of the cake with colorful Halloween sprinkles.
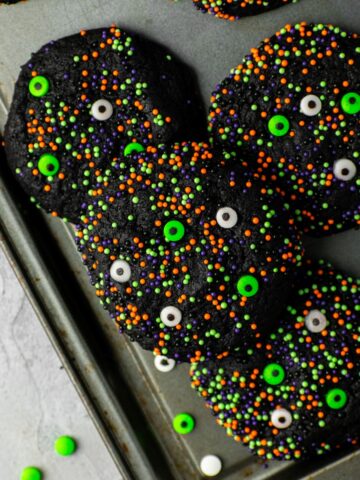
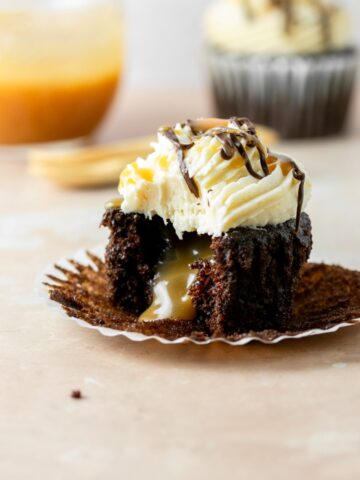
Looking for more black velvet recipes? Then check out these: black velvet cupcakes, spooky Halloween sprinkle cookies, and pumpkin chocolate cupcakes.
Jump to:

Why You'll Love This Cake
- No black food coloring is used.
- The cake layers are soft and moist.
- It's easy to make using just mixing bowls.
- The chocolate buttercream is light and fluffy.
- It's a great treat to make for spooky season!
At this point I really love working with this dark cocoa powder. It tastes so good and I absolutely love the dark color!
If you're looking to amp up your regular chocolate cake recipe, then you need to try this cake!
Ingredients Needed
Here are some notes on the ingredients we'll be using. For the full list of ingredients, look at the recipe card below.
- Flour: I used all-purpose flour
- Black Cocoa Powder: I recommend this black cocoa powder. It tastes so good and is easy to work with.
- Oil: You can use either vegetable or canola oil.
- Butter: Use unsalted butter.
- Heavy Whipping Cream: I like to add this to the frosting to add creaminess. If needed, you could substitute it for milk or heavy cream.
- Sprinkles: I used some sprinkles I found from Walmart, but these ones on Amazon would be fun too!

Instructions
Here are the step by step instructions on how to make this rich black velvet cake.
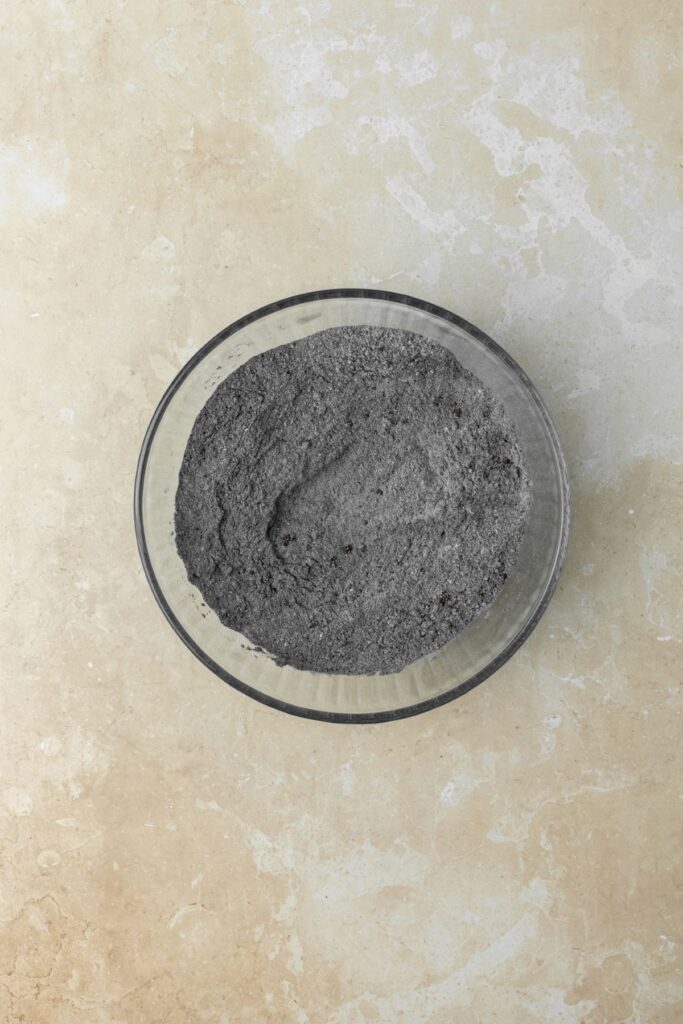
Step 1: Dry ingredients. In a large bowl, whisk together the flour, sugar, cocoa powder, baking soda, baking powder, and salt.
Step 2: Wet ingredients. In a medium bowl, whisk together the warm water, milk, eggs, vegetable oil, and vanilla extract until combined.
Step 3: Combine the ingredients. Slowly add the wet ingredients into the flour mixture, whisking until a wet batter forms.

Step 4: Bake. Divide the cake batter amongst the three prepared cake pans and bake for 23-28 minutes, or until a toothpick inserted into the middle of the cakes come out clean.
For best results, allow the layers to cool in the pan for 25 minutes before removing them and placing on a wire rack to finish cooling.

Step 5: Make the frosting. In a large electric mixer bowl using the paddle attachment, beat the butter on high speed until smooth.
Add the powdered sugar, black cocoa powder, and heavy whipping cream and mix on low speed until combined. Then increase the speed to high and mix for another 1-2 minutes.
Assembling The Cake
Make sure the cake layers are completely cooled before assembling and decorating.
Place one cake layer on a cake stand or serving plate and spread about ⅔ cup of frosting.
Repeat with the second layer. Top the cake with the last layer and spread on about ¼ cup of frosting. Frost and smooth the outside of the cake with a thin crumb coat (I used my offset spatula and cake scraper).


Place the entire cake in the freezer for 10 minutes to chill. Then, finish frosting the whole thing and decorate the top.
I used the Wilton 1M and Halloween sprinkles to decorate the top of the cake.

Storage Tips
Keep any leftover cake slices in an airtight container in the refrigerator for up to 5 days.
You could also wrap the individual pieces of cake in plastic wrap before placing it into the refrigerator. This helps to keep the cake moist and makes storing easy.
If needed, this cake can sit at room temperature for 24 hours.
Expert Baking Tips
- Cake Pans: This recipe calls for three 6-inch cake pans. Line each pan with parchment paper and non-stick spray.
- Measuring Flour: To help ensure you don’t add extra flour, follow these three simple steps: 1) Fluff up the flour using a fork. 2) Spoon the flour into your measuring cup. 3) Scrape a knife across the top of the measuring cup to level out the flour.
- Dividing the Batter: To make sure I evenly divide up the batter amongst the cake pans I use a ½ measuring cup to scoop the batter into each pan. I count as I go and then switch to a tablespoon as I get less and less batter.
- Crumb Coat: This is where we add a thin layer of frosting on the cake in order to catch the crumbs and keeps them secure. You’ll want to chill the cake in the refrigerator or freezer for 10 minutes after the crumb coat has been put on before the final frosting layer.
- Cake Decorating Tools: I like to use a turntable, cake scraper, and an icing spatula to help assist me when assembling a cake.
Recipe FAQs
You definitely don't have to and can just use natural cocoa powder (like Hershey's).
A red velvet cake uses red food coloring to get it's distinct color. It also uses buttermilk, vinegar, and only a little bit of cocoa powder in the cake batter. A black velvet cake is very similar to a chocolate cake, but it uses black cocoa powder instead. No food coloring is used either.
I used three 6-inch cake pans, but you could also use two 8-inch or two 9-inch cake pans.

If you made this recipe, please leave a comment and star rating below. I love hearing from you! Also, please tag me on Instagram and check out my Pinterest for even more recipe ideas.
It brings me so much joy to see you make my recipes. 🙂
Happy Baking!
More Halloween Recipes
📖 Recipe

Black Velvet Cake
Equipment
- Three 6-Inch Cake Pans
- Electric Stand Mixer
- Mixing Bowls
- Cake Decorating Tools
Ingredients:
Black Velvet Cake
- 1 ¾ cups all-purpose flour
- 1 ½ cups sugar
- ¾ cup black cocoa powder
- 1 teaspoon baking soda
- 1 teaspoon baking powder
- ½ teaspoon salt
- 1 cup warm water
- 1 cup milk, room temperature
- 2 large eggs, room temperature
- ⅓ cup vegetable oil (or canola)
- 1 teaspoon vanilla extract
Black Buttercream
- 1 ½ cups unsalted butter (3 sticks), room temperature
- 3 ½ cups powdered sugar
- ¾ cup black cocoa powder
- ¼ cup heavy whipping cream
- 1 teaspoon vanilla extract
- Halloween sprinkles
Instructions:
- Preheat the oven to 350 degrees and line three 6-inch cake pans with parchment paper then nonstick spray. Set aside.
Black Velvet Cake
- In a large bowl, whisk together the flour, sugar, black cocoa powder, baking soda, baking powder, and salt. Set aside.
- In a medium-sized mixing bowl, whisk together the warm water, milk, eggs, vegetable oil, and vanilla extract until combined. Slowly add the wet ingredients into the dry, whisking until a wet batter forms (do not overmix).
- Divide the batter amongst the three prepared cake pans and bake for 23-28 minutes, or until a toothpick inserted into the middle of the cakes come out clean. Let the cakes cool in the pan for 25 minutes before removing and placing them on a wire rack to cool completely.
Black Buttercream
- In the bowl of an electric stand mixer using the paddle attachment, beat the butter on high speed until creamy (about 1-2 minutes).
- Add the powdered sugar, black cocoa powder, and heavy whipping cream and mix on low speed until combined (about 30 seconds). Then increase the speed to high and beat for another 1-2 minutes (frosting should be light and creamy).
Assemble
- If needed, use a serrated knife to level off the tops of each cake layer to create a flat surface. Place one cake layer on a cake stand or plate and spread about ⅔ cup of frosting. Repeat with the second layer. Top the cake with the last layer and spread on about ¼ cup of frosting.
- Frost and smooth the outside of the cake with a thin crumb coat. Place the entire cake in the refrigerator or freezer for 10 minutes to chill.
- Remove the cake from the refrigerator and finish frosting. Cover the sides and top of the cake again until frosted to your desire. Place the cake in the freezer for 10 more minutes.
- I decorated the top by using the Wilton 1M and added Halloween sprinkles. Keep any leftover cake slices in an airtight container in the refrigerator for up to 5 days.
Notes:
- Cake Pans: This recipe calls for three 6-inch cake pans. Line each pan with parchment paper and non-stick spray.
- Measuring Flour: To help ensure you don’t add extra flour, follow these three simple steps: 1) Fluff up the flour using a fork. 2) Spoon the flour into your measuring cup. 3) Scrape a knife across the top of the measuring cup to level out the flour.
- Dividing the Batter: To make sure I evenly divide up the batter amongst the cake pans I use a ½ measuring cup to scoop the batter into each pan. I count as I go and then switch to a tablespoon as I get less and less batter.
- Crumb Coat: This is where we add a thin layer of frosting on the cake in order to catch the crumbs and keeps them secure. You’ll want to chill the cake in the refrigerator or freezer for 10 minutes after the crumb coat has been put on before the final frosting layer.
- Cake Decorating Tools: I like to use a turntable, cake scraper, and an icing spatula to help assist me when assembling a cake.


Leave a Reply