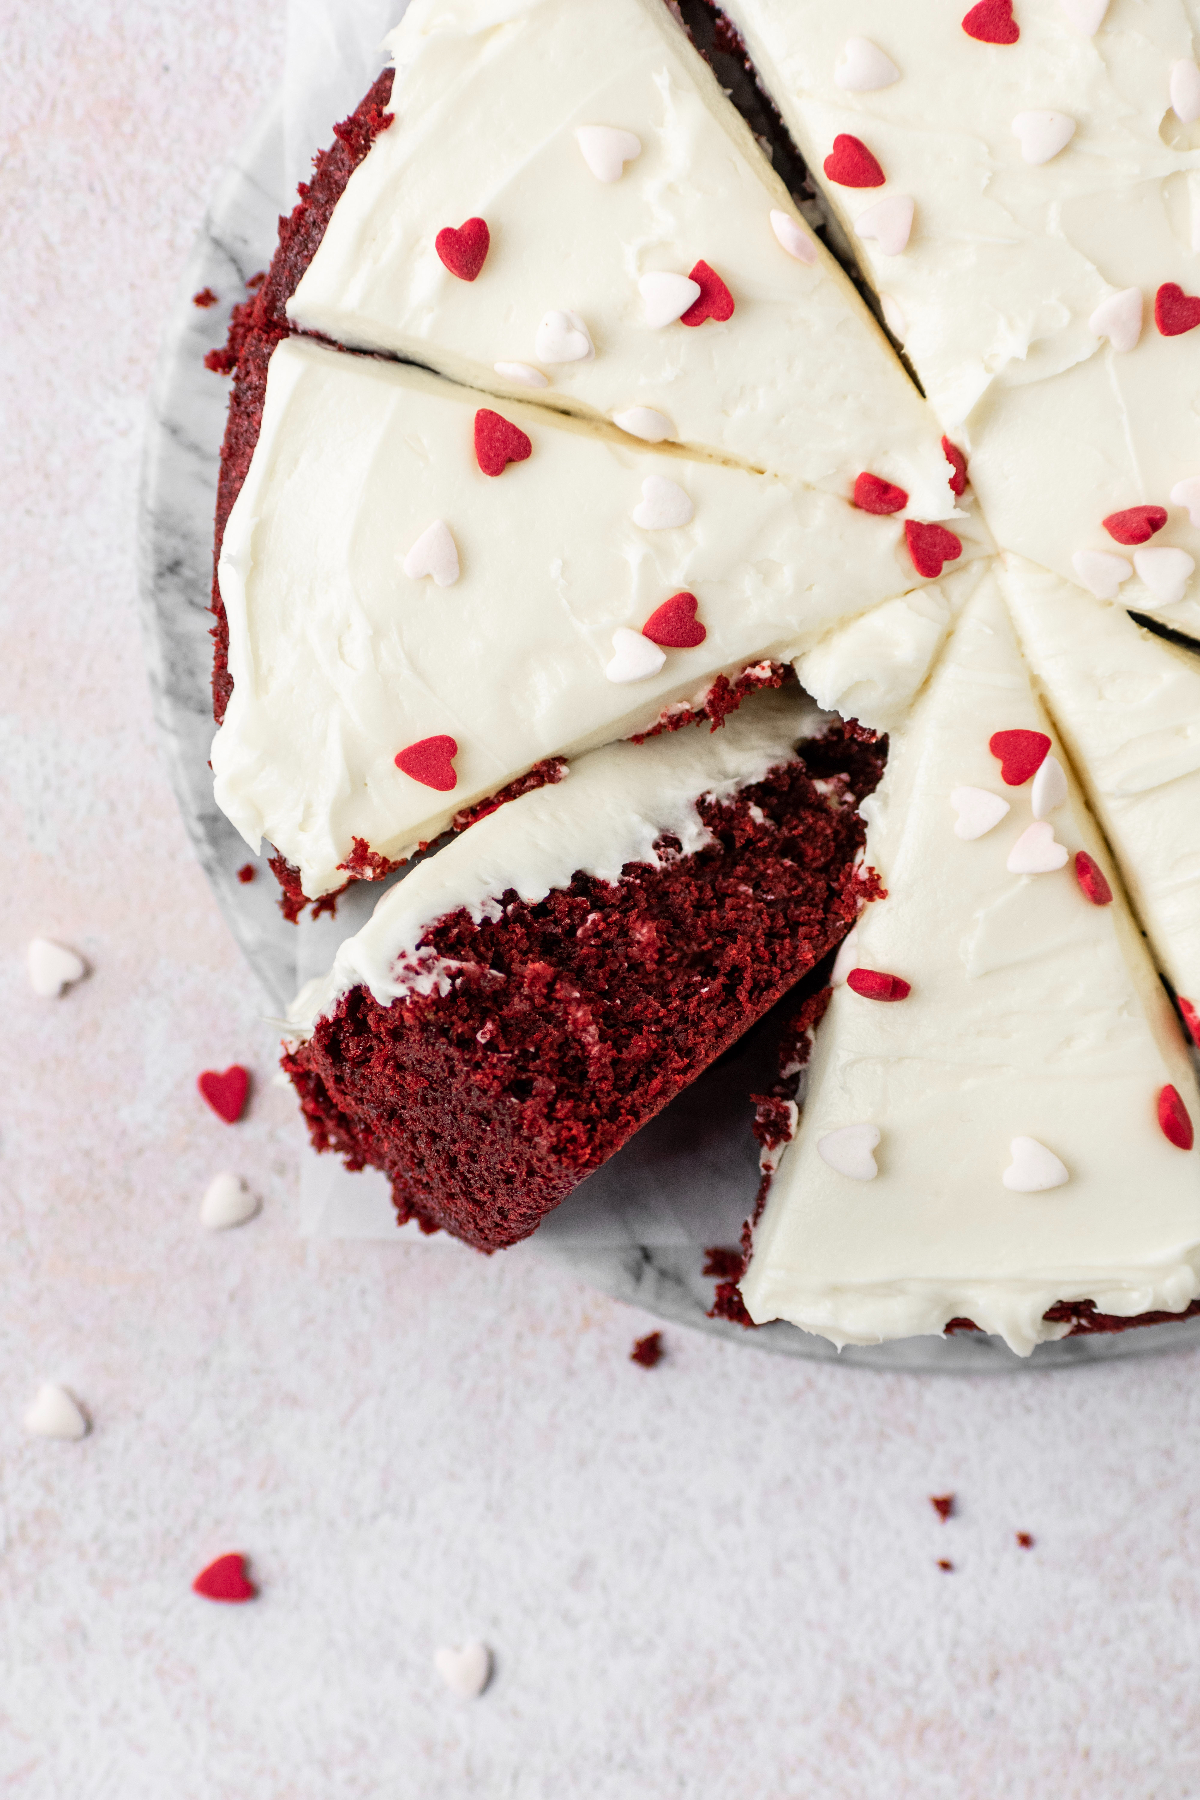
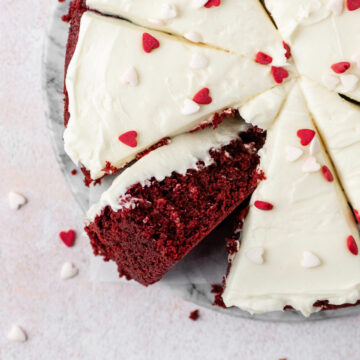
This small red velvet cake recipe comes together in just one bowl, takes 5 minutes to prep, and is baked in a single 8-inch cake pan. It's the perfect size for two people to share on Valentine's Day or a special date night. Plus, it's topped with a creamy cream cheese frosting!
Sometimes all you need is a little bit of cake, and that's where this one layer red velvet cake recipe is perfect!
The cake bakes in just one cake pan (either an 8-inch or 9-inch) and makes 8 small slices.
Just like with my #1 rated single layer vanilla cake and my personal favorite one bowl chocolate cake, it's the ideal amount of cake to share with 2-4 people (or to keep all for yourself throughout the week!
Why You'll Love This Recipe
- Moist & soft cake texture. This cake is incredibly soft, tender, and of course moist.
- Easy to make. Ditch the cake box mix because the cake batter comes together in just one bowl in about 5 minutes. In total, you can have red velvet cake in about 1 hour!
- Cream cheese frosting. I made a small batch version of my classic cream cheese frosting that is the perfect amount of frosting to spread over the top of this small cake.
- Vibrant red color. A classic red velvet dessert always has that bright red color. I used red food gel so you don't have to use as much food dye and the red color is so beautiful for both Valentine's Day or Christmas.
Jump to:
Funny enough, I have never cared much for red velvet. Like, what is it exactly?
Well, as an experienced home baker of 7+ years now, I have come to love the subtle cocoa and vanilla flavors of this elegant dessert.
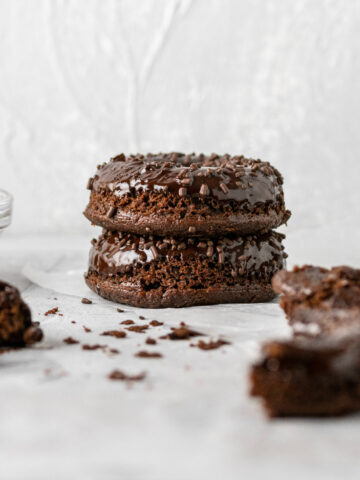
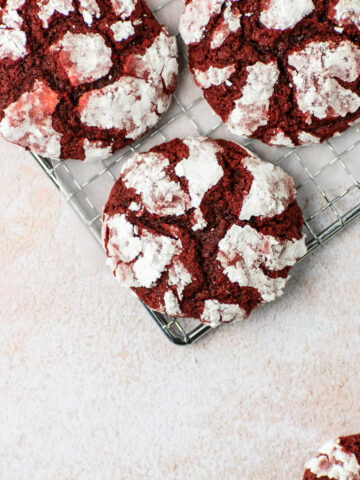
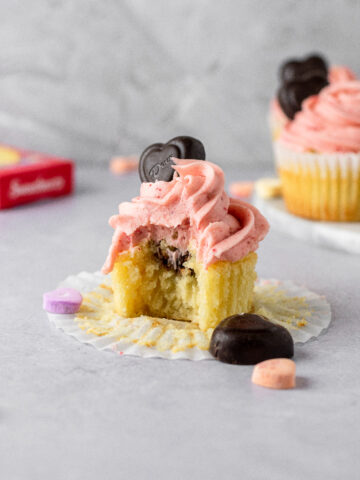
I even have these moist red velvet cupcakes, easy red velvet crinkle cookies, and red velvet cake donuts on the blog if you want even more red velvet inspiration.
Ingredients For Single Layer Red Velvet Cake

- Flour: I used all purpose flour.
- Cocoa Powder: Just a small amount of cocoa powder is needed.
- Oil: Use either vegetable oil or canola. This helps the cake to turn out really moist.
- Red Food Coloring: My favorite food coloring to use for any red velvet recipe is Americolor Red Food Gel. It works so well and you only need a little.
- Vinegar: Using white vinegar is a necessary ingredient in this cake.
- Buttermilk: This is another necessary ingredient for red velvet. It adds tanginess and creaminess.
See the recipe card for the full ingredients list and the exact amounts.
How To Make A Small Red Velvet Cake

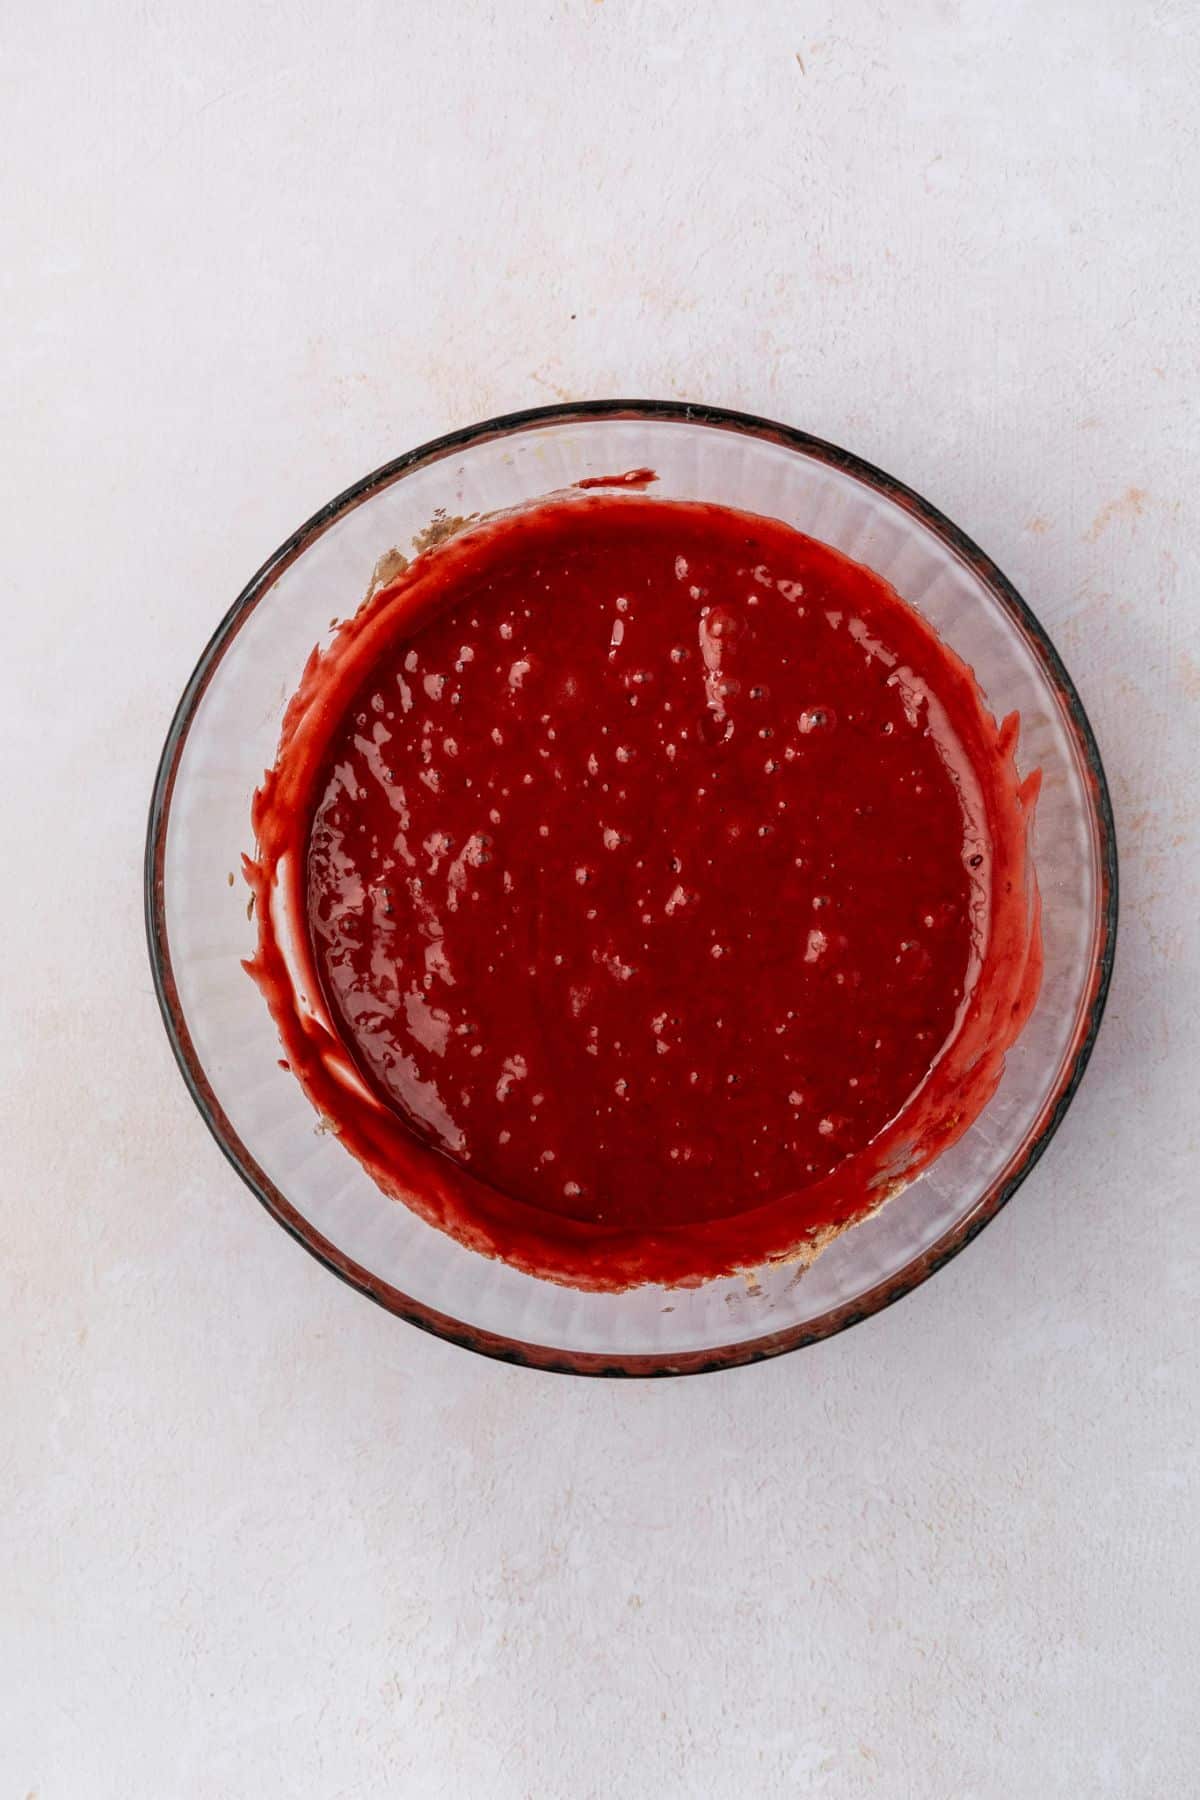
Step 1: In a large mixing bowl, whisk together the sugar, vegetable oil, egg, vanilla extract, vinegar, red food gel, and buttermilk until fully combined.
Step 2: Add the flour, cocoa powder, baking powder, baking soda, and salt and whisk just until everything is combined.

Step 3: Scrape the batter into the prepared cake pan and bake for 22-28 minutes, or until a toothpick inserted into the middle of the cake come out clean.

Step 4: Let the cake cool in the pan for 30 minutes before removing and placing it on a wire rack to cool completely.
Karissa's Baking Tip: Ovens can all vary on temperature and how long desserts will take to bake. 28 minutes is how long it takes for this cake to bake in my oven. In yours, it make take less or more.
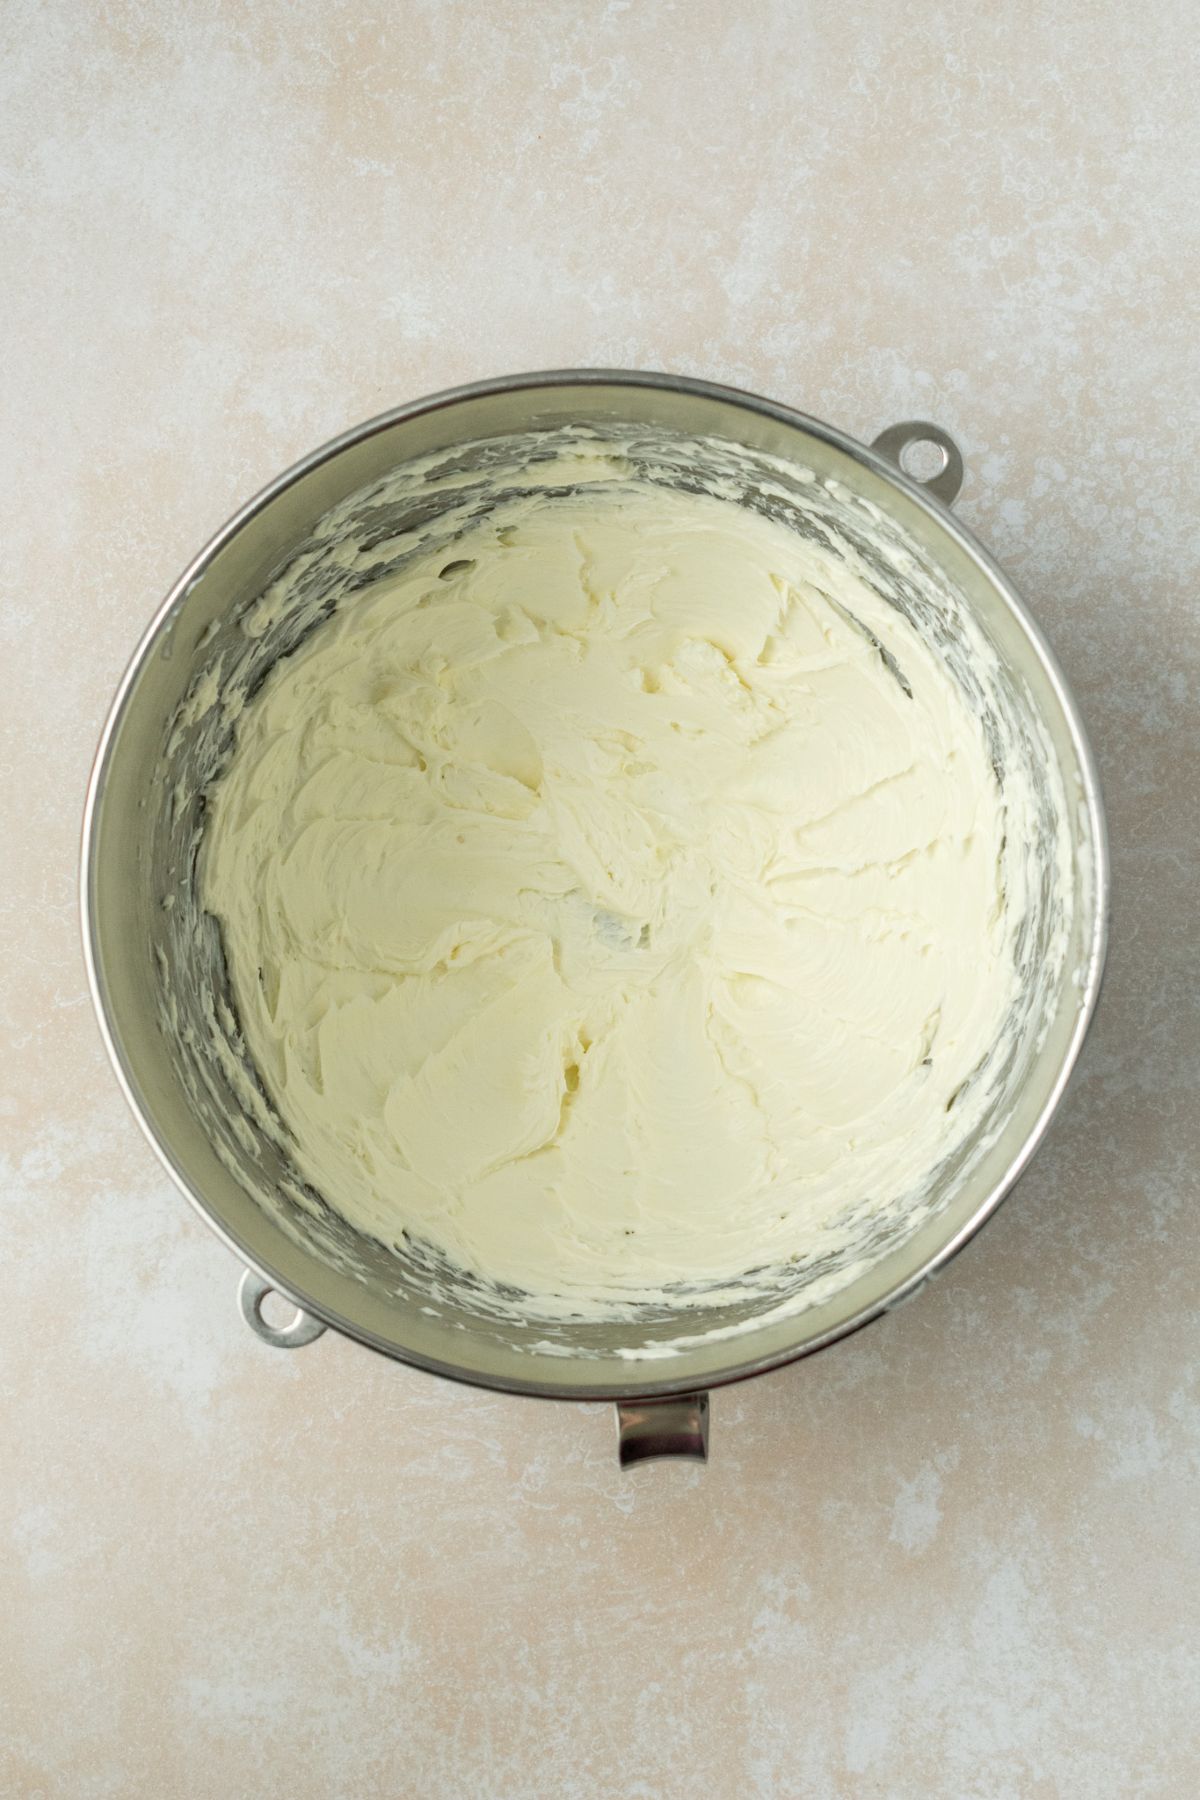
Step 5: In the bowl of an electric stand mixer using the paddle attachment, cream together the cream cheese and butter on high speed until light and creamy.
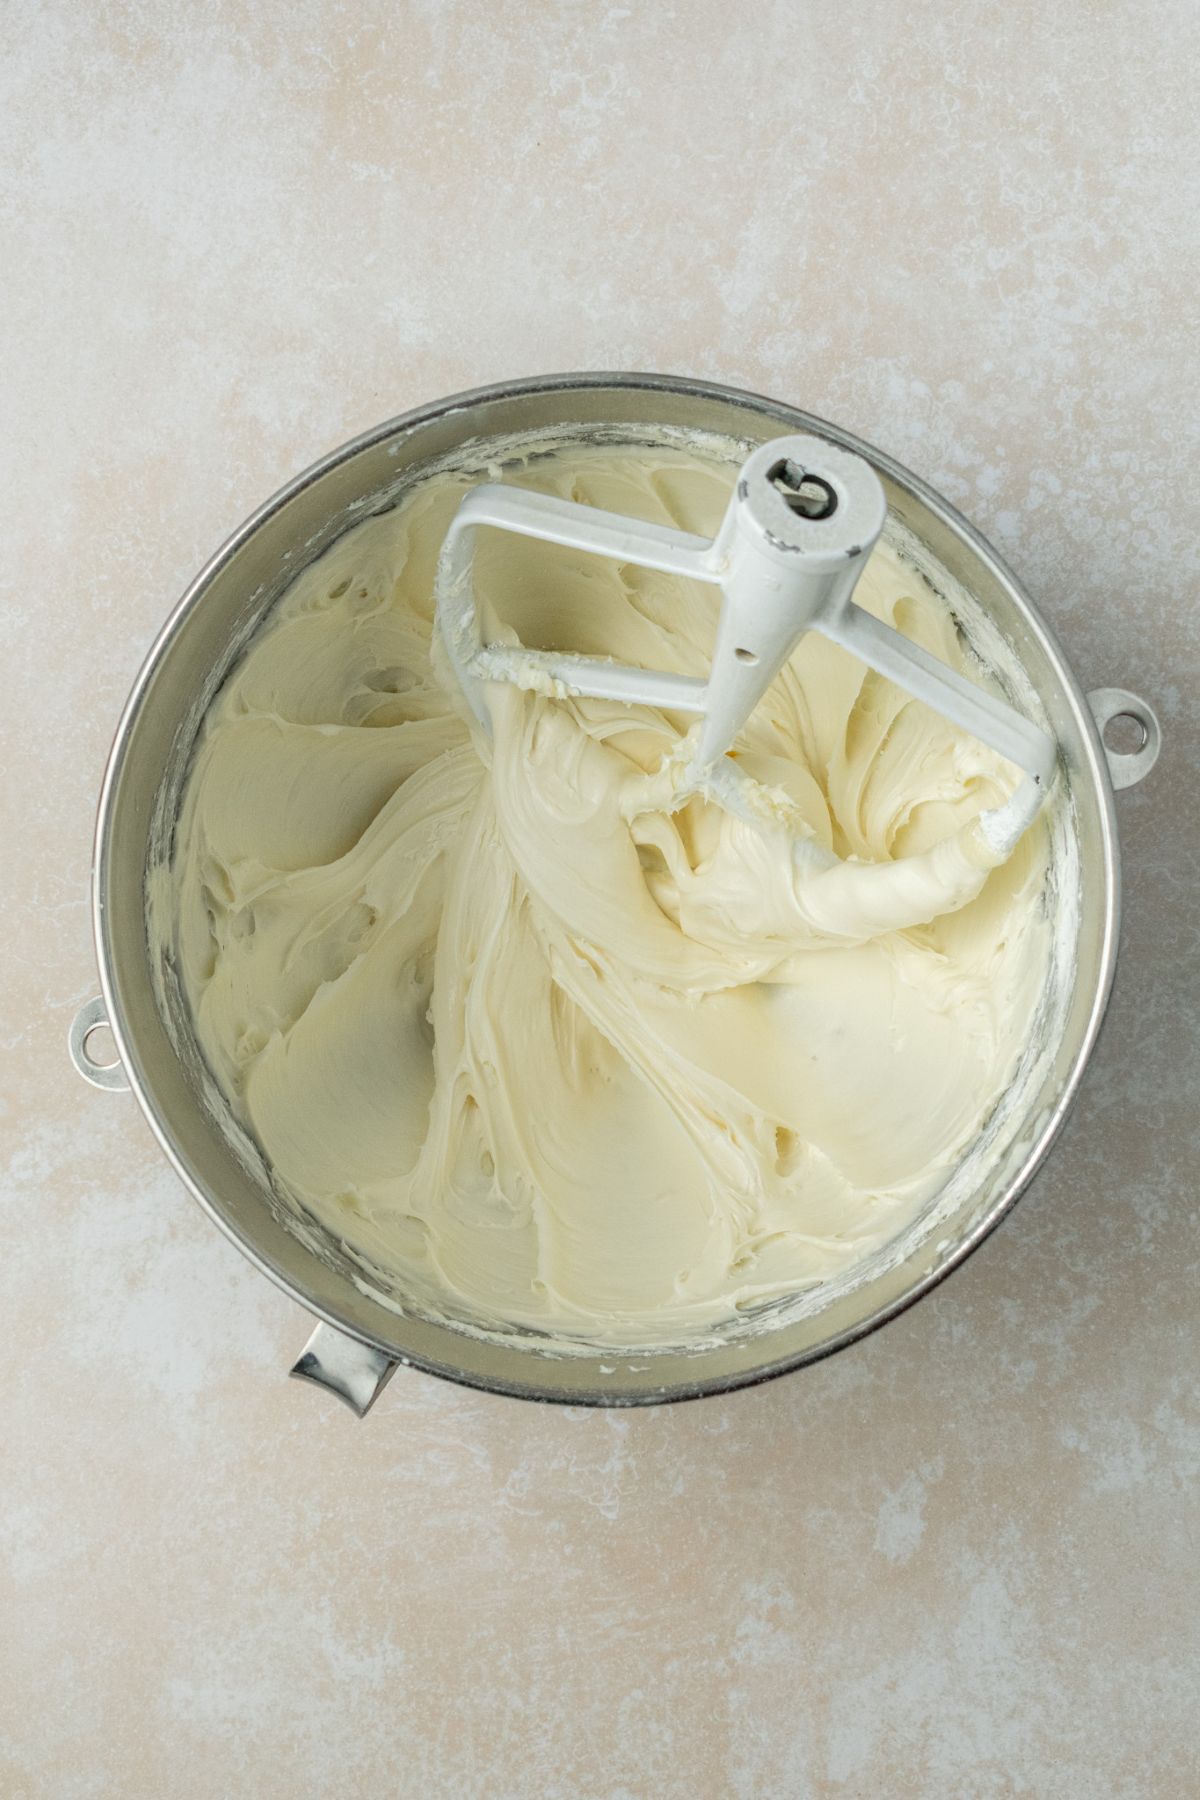
Step 6: Add the powdered sugar and vanilla extract and mix on low speed until combined.
Increase the speed to high and beat for an additional 1-2 minutes until smooth and creamy.
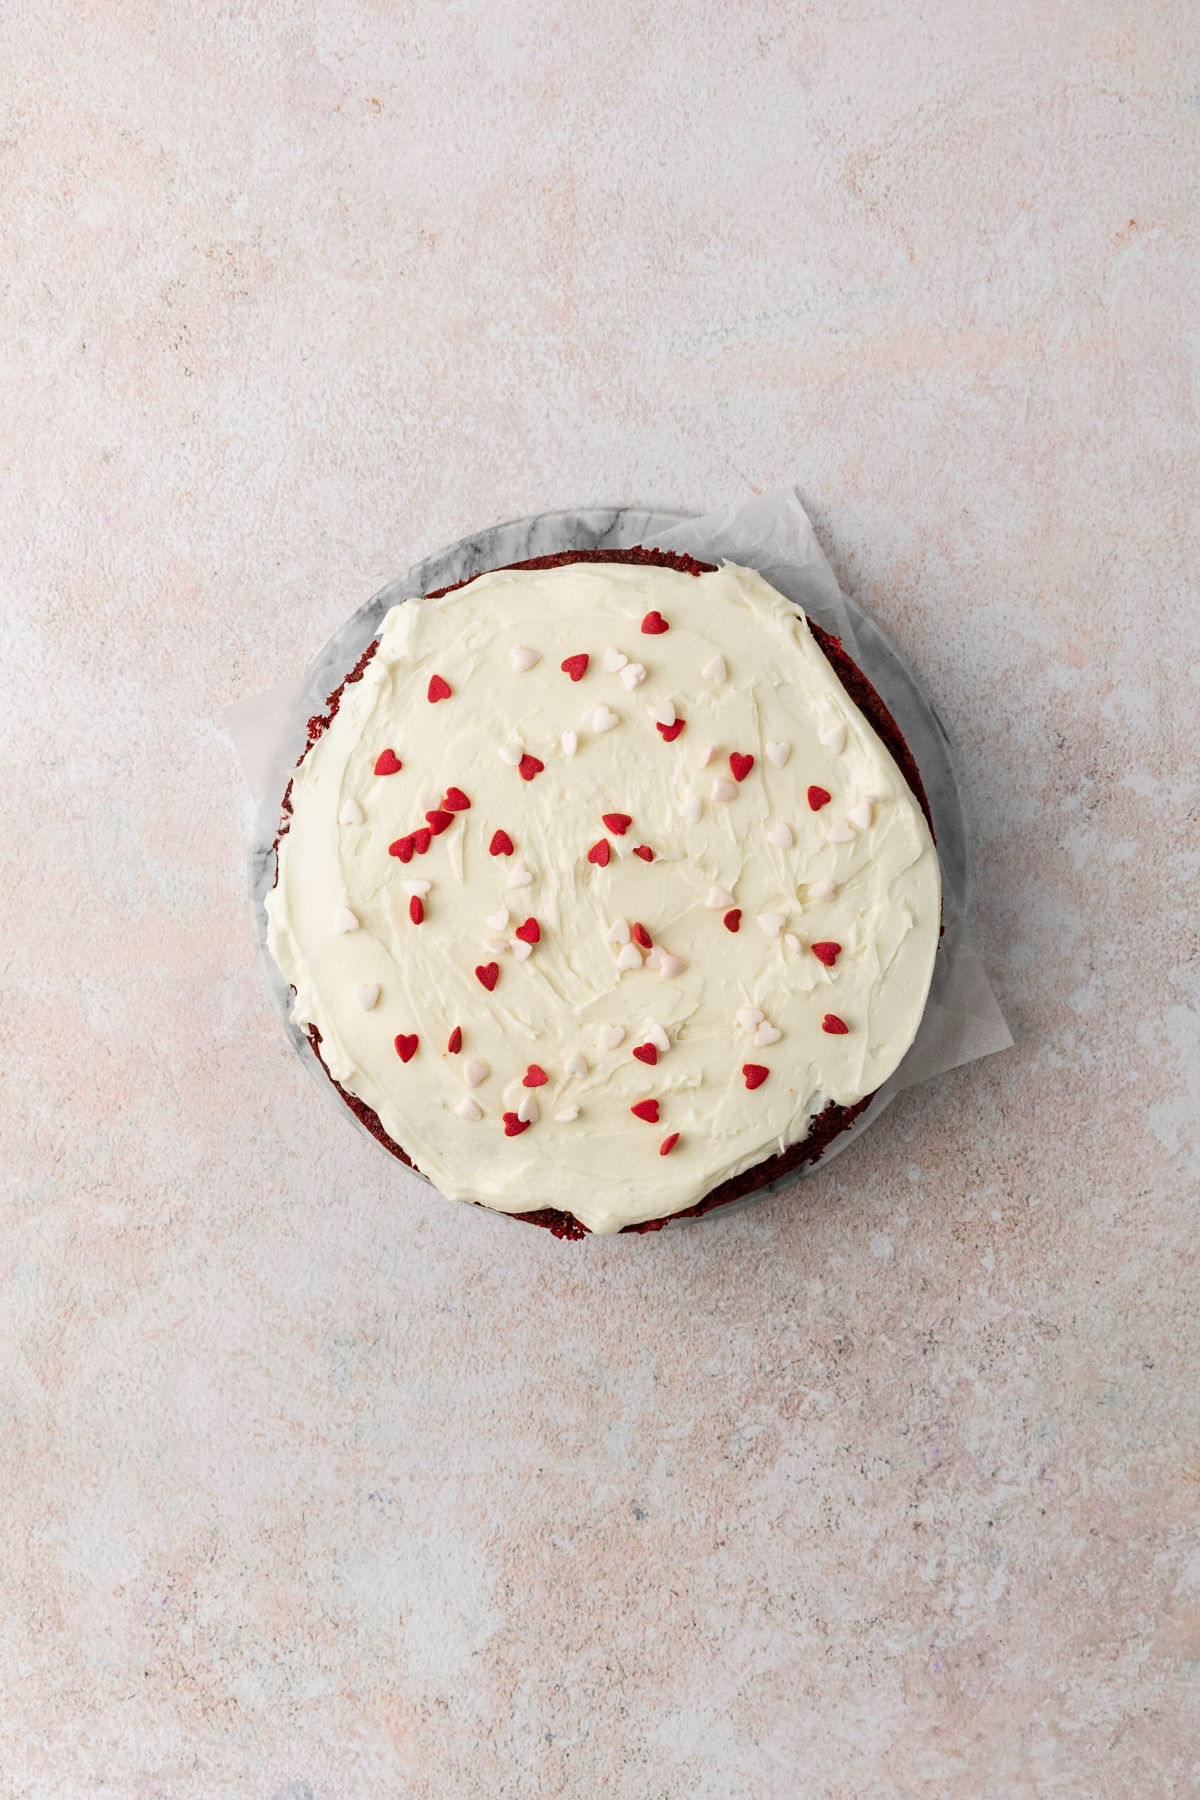
Step 7: Use an offset spatula to spread on the cream cheese frosting.
Decorate the top with fun Valentine's Day sprinkles or however you'd like!
Storing & Freezing
Storing: Place the leftover cake slices in an airtight container in the refrigerator for up to 5 days.
Freezing: Wrap the unfrosted cake in plastic wrap two times and place in a freezer safe bag.
You can also freeze individual slices of this cake that's already been frosted by also wrapping in plastic wrap and placing into a freezer bag. Keep frozen for up to 2 months.

Professional Home Baking Tips
- Cake Pan: Use either an 8-inch or 9-inch cake pan. Line your pan with parchment paper and non-stick spray.
- Measuring Flour: To help ensure you don’t add extra flour, follow these three simple steps: 1) Fluff up the flour using a fork. 2) Spoon the flour into your measuring cup. 3) Scrape a knife across the top of the measuring cup to level out the flour.
- Room Temperature Ingredients: Although highly recommended for the best cake texture, you don't have to have your ingredients at room temperature before baking. If you're in a hurry just use the egg and buttermilk straight from the refrigerator.
- Food Coloring: I recommend using red gel food coloring over a liquid kind. You don't have to use as much and the red color is much brighter and deeper.
Recipe FAQs
Red velvet is kind of a mixture between a chocolate cake and a vanilla cake. You'll taste subtle hints of both flavors. And since it also includes vinegar and buttermilk, you'll taste some tang as well.
Yes, because it's an essential ingredient in this cake. If you don't have any, you can easily make your own by combining a ½ cup of milk and 2 teaspoons of lemon juice. Let it sit for at least 10 minutes before using.
You can get 8 small cake slices from this recipe. It's ideal for 2-4 people.
No, because it would be too much batter for that pan size. I recommend dividing the batter between two 6-inch cake pans or using one 8-inch or 9-inch pan.
More Valentine's Day Recipes

📖 Recipe
Small Red Velvet Cake (One Layer)
Equipment
- 8 or 9-Inch Cake Pan
- Mixing Bowl
- Electric Stand Mixer
Ingredients:
Red Velvet Cake
- ¾ cup sugar
- ⅓ cup vegetable oil (or canola oil)
- 1 large egg, room temperature preferred
- 1 teaspoon vanilla extract
- 1 teaspoon vinegar
- ¼ teaspoon red food gel
- ½ cup buttermilk, room temperature preferred
- 1 cup all-purpose flour
- 1 ½ tablespoons cocoa powder
- ½ teaspoon baking powder
- ¼ teaspoon baking soda
- ¼ teaspoon salt
Cream Cheese Frosting
- 4 ounces brick-style cream cheese, room temperature
- ¼ cup unsalted butter, room temperature
- 1 ½ cups powdered sugar
- 1 teaspoon vanilla extract
- Valentine's Day sprinkles (optional)
Instructions:
- Preheat the oven to 350 degrees and line one 8-inch cake pan (you can also use a 9-inch) with parchment paper then nonstick spray. Set aside.
Red Velvet Cake
- In a large mixing bowl, whisk together the sugar, vegetable oil, egg, vanilla extract, vinegar, red food gel, and buttermilk until fully combined.
- Add the flour, cocoa powder, baking powder, baking soda, and salt and whisk just until everything is combined.
- Scrape the batter into the prepared cake pan and bake for 22-28 minutes, or until a toothpick inserted into the middle of the cake come out clean. Let the cake cool in the pan for 30 minutes before removing and placing it on a wire rack to cool completely.
Cream Cheese Frosting
- In the bowl of an electric stand mixer using the paddle attachment, cream together the cream cheese and butter on high speed until light and creamy (2-3 minutes). Add the powdered sugar and vanilla extract and mix on low speed until combined (30 seconds).
- Increase the speed to high and beat for an additional 1-2 minutes until smooth and creamy.
Assemble
- Once the cake is cooled, use an offset spatula to spread on the cream cheese frosting. Then add your sprinkles.
- Keep any leftover cake slices in an airtight container in the refrigerator for up to 5 days.


This one layer cake is the perfect size for my husband and I to share!