This white chocolate peppermint cake is a three layered peppermint cake that has a white chocolate buttercream and is decorated with crushed candy canes. This is a perfect cake to serve this holiday season!
This post is sponsored by Lifeway. However, all thoughts and opinions are my own. Thank you for supporting the brands that make Ginger Snap's Baking Affairs possible!
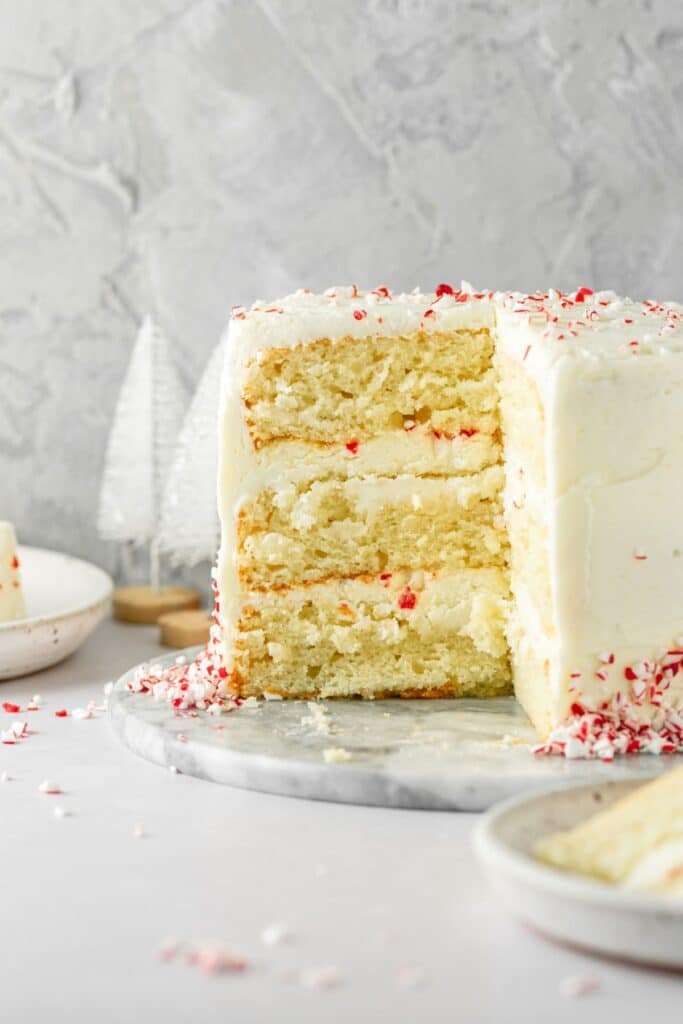
This holiday peppermint cake is soft, moist, and filled with peppermint flavor. Peppermint candies are not only on the outside of the cake, but also in between each cake layer.
I made a classic white chocolate American buttercream that pairs perfectly with the peppermint cake!
Looking for more peppermint recipes? Then check out these: candy cane chocolate chip cookies, mint chocolate cake, and candy cane brownies.
Jump to:

Why You'll Love This Cake
- It has white chocolate peppermint cake layers.
- The top of the cake is coated in candy cane crumbs.
- It's easy to make using just mixing bowls.
- The white chocolate peppermint buttercream is smooth and creamy.
- It's perfect for your holiday table and any holiday celebrations!
Peppermint is my favorite Christmas flavor, and when paired with white chocolate, it's a delicious combination!
So sometime during this winter season, you have got to make this cake!

What Is Lifeway Kefir?
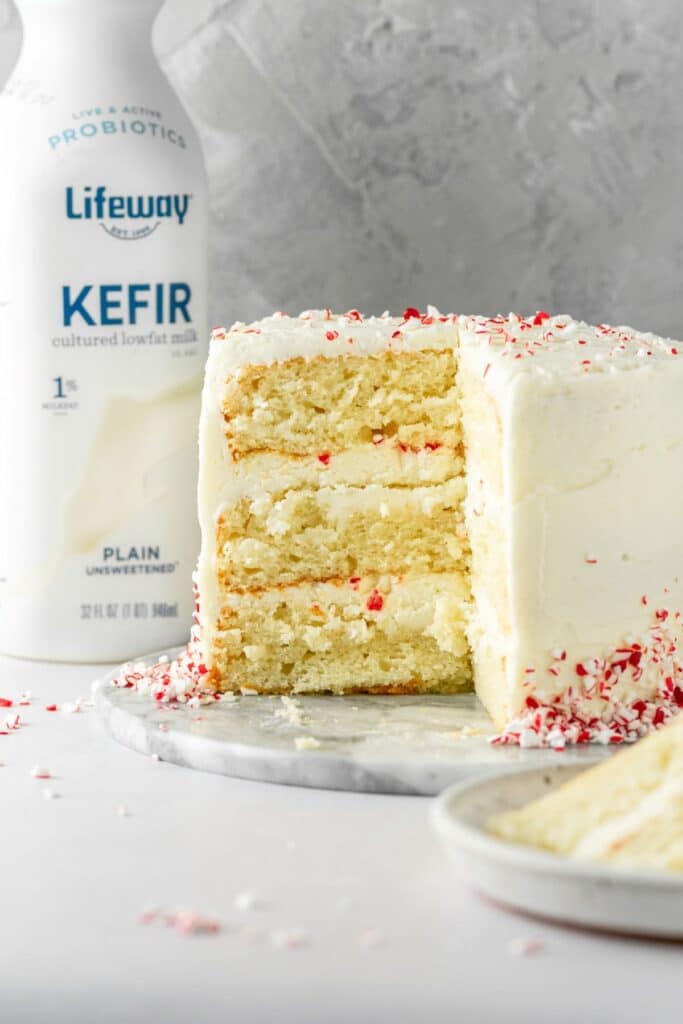
Lifeway Kefir is a tart and tangy cultured milk smoothie that offers numerous health benefits, such as protein, probiotics, and helps to support a healthy digestion.
So, not only are you getting added health benefits in your baked goods, but it also provides a lot of moisture which is crucial to so many desserts, such as this cake!
At this point, Lifeway Kefir is my go-to product in any of my recipes that calls for milk. I absolutely love it! They offer many lowfat kefir milk flavors that you should check out here.
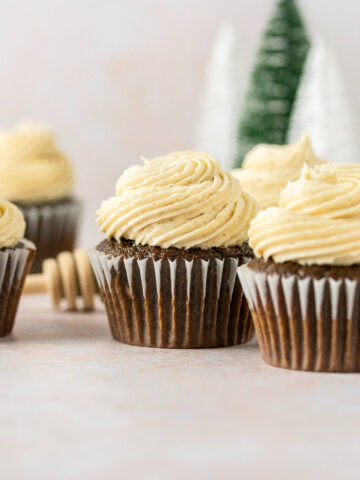
Also, check out these gingerbread muffins and black forest cupcakes I made using Lifeway milk.
Ingredients Needed
Here are some notes on the ingredients we'll be using. For the full list of ingredients, look at the recipe card below.
- Flour: I used all-purpose flour.
- Oil: You can use either vegetable oil or canola.
- Eggs: A combination of both eggs and egg whites are used to create a stable, but moist crumb.
- Yogurt: Use plain or vanilla yogurt. If you don't have yogurt, you could substitute it with sour cream.
- Peppermint Extract: Be sure to use a pure peppermint extract like this one.
- Lifeway Kefir Plain Lowfat Milk: This adds moisture and creaminess to the cake.
- White Chocolate: Use a high quality white chocolate bar such as Ghirardelli. This chocolate is very specific with how it melts, so I don't recommend using white chocolate chips or a low quality brand.
- Heavy Whipping Cream: I like to add a little bit to the frosting to help create a creamy consistency. If need be, you could substitute it with heavy cream.
- Candy Canes: I bought a bag of crushed candy cane pieces from the store but you could also buy normal candy canes and crush them yourself.


Instructions
Here are the step by step instructions on how to make this peppermint white chocolate cake.
Step 1: Dry ingredients. In a medium bowl, whisk together the flour, baking powder, and salt. Set aside.
Step 2: Wet ingredients. In a large bowl, whisk together the sugar, oil, eggs, egg whites, yogurt, vanilla extract, and peppermint extract until thoroughly combined.
Step 3: Combine the ingredients. Alternately add the flour mixture and Lifeway milk, starting and ending with the flour (flour, milk, flour) and mixing just until combined.


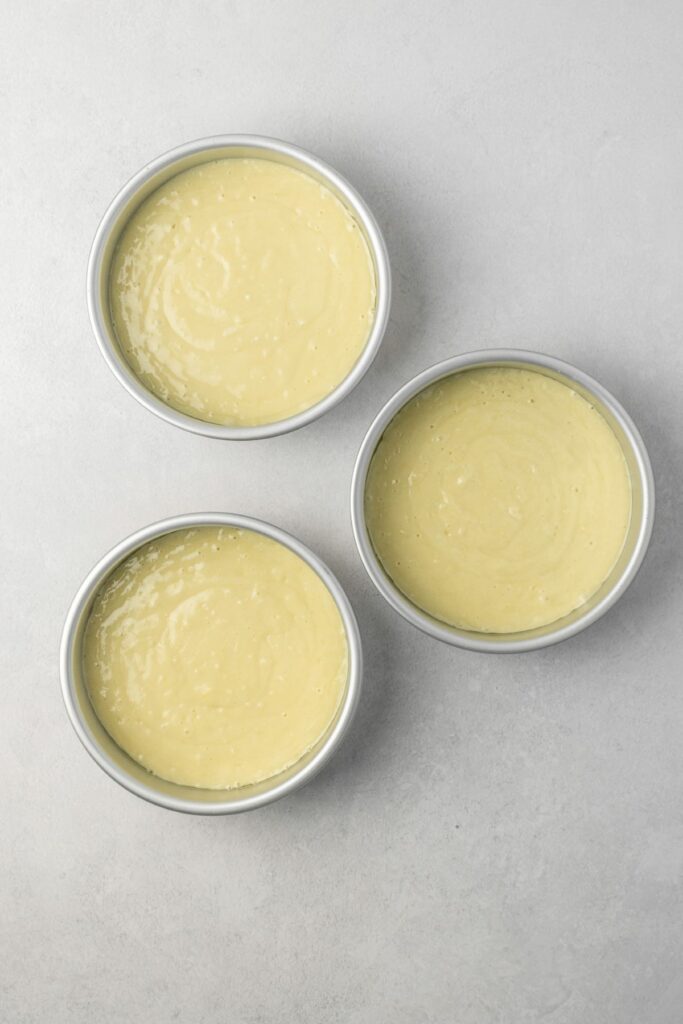
Step 4: Bake the cake. Divide the cake batter amongst the three prepared cake pans and bake for 20-25 minutes.
Let the cake cool in the pan for 25 minutes before removing and placing them on a wire rack to cool completely.
White Chocolate Frosting
In a microwave-safe bowl, melt the white chocolate in 20 second intervals, stirring well after every 20 seconds until melted and smooth. Cool completely.
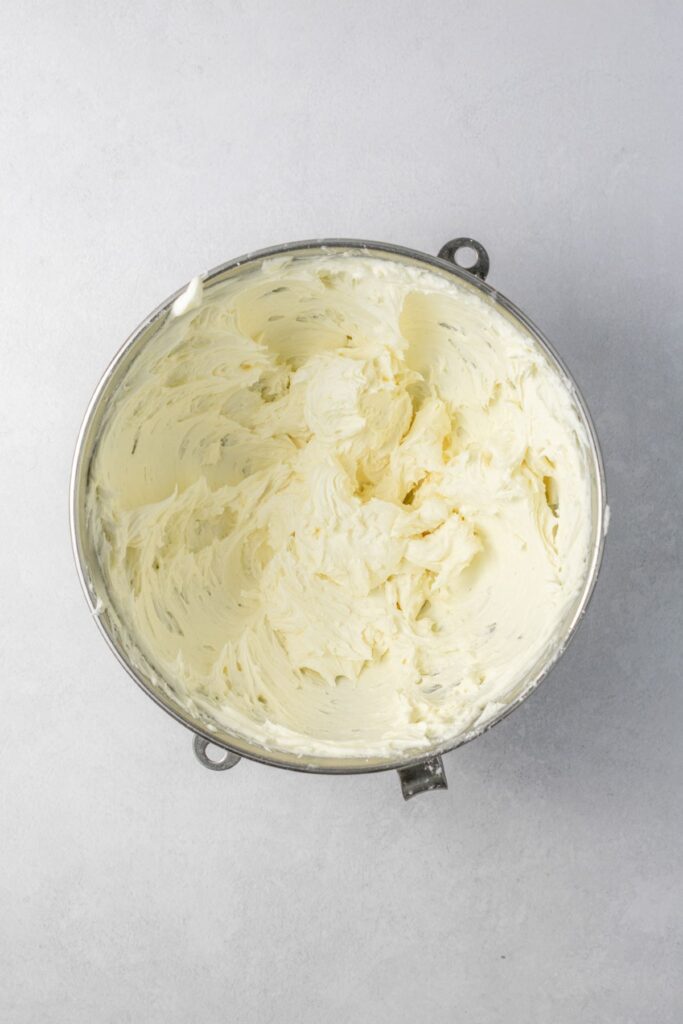
In the bowl of an electric stand mixer using the paddle attachment, beat the butter on med-high speed until light and creamy.
Add the powdered sugar, melted and cooled white chocolate, heavy whipping cream, and vanilla extract and mix on low speed until combined.
Then beat on high for an additional 1-2 minutes until smooth and creamy.

Assembling The Cake
Make sure the cake layers are completely cooled before assembling and decorating.
Place one cake layer on a cake stand or serving plate and spread about ⅔ cup of frosting. Then sprinkle on some crushed candy cane pieces.
Repeat with the second cake layer. Top the cake with the final layer and spread on about ¼ cup of frosting. Frost and smooth the sides of the cake with a thin crumb coat (I used my offset spatula and cake scraper).
Place the entire cake in the freezer for 10 minutes to chill. Then, finish frosting and decorating.

Storage Tips
Keep any leftover cake slices in an airtight container in the refrigerator for up to 5 days.
You could also wrap the individual pieces of cake in plastic wrap before placing it into the refrigerator. This helps to keep the cake moist.
Expert Baking Tips
- Cake Pans: This recipe calls for three 6-inch cake pans. Line each pan with parchment paper and non-stick spray.
- Measuring Flour: To help ensure you don’t add extra flour, follow these three simple steps: 1) Fluff up the flour using a fork. 2) Spoon the flour into your measuring cup. 3) Scrape a knife across the top of the measuring cup to level out the flour.
- Room Temperature Ingredients: Any ingredient that needs to be at room temperature should be taken out of the refrigerator at least 1 hour before you want to bake. Do not skip this step! It's super important so that the ingredients can incorporate properly.
- Dividing the Batter: To make sure I evenly divide up the batter amongst the cake pans I use a ½ measuring cup to scoop the batter into each pan. I count as I go and then switch to a tablespoon as I get less and less batter.
- Crumb Coat: This is where we add a thin layer of frosting on the cake in order to catch the crumbs and keeps them secure. You’ll want to chill the cake in the refrigerator or freezer for 10 minutes after the crumb coat has been put on before the final frosting layer.
- Cake Decorating Tools: I like to use a turntable, cake scraper, and an icing spatula to help assist me when assembling a layer cake.
Recipe FAQs
You could also use two 8-inch or two 9-inch cake pans instead. Just note that the bake times may be different.
You could top the cake with a dark chocolate or white chocolate ganache. You could also add peppermint bark as decoration as well!
I actually already have white chocolate peppermint cupcakes on my website. Check them out here!
If you made this recipe, please leave a comment and star rating below. I love hearing from you! Also, please tag me on Instagram and check out my Pinterest for even more recipe ideas.
It brings me so much joy to see you make my recipes. 🙂
Happy Baking!
More Holiday Dessert Recipes
📖 Recipe

White Chocolate Peppermint Cake
Equipment
- Three 6-Inch Cake Pans
- Mixing Bowls
- Electric Stand Mixer
- Cake Decorating Tools
Ingredients:
Peppermint Cake
- 2 ¼ cups all-purpose flour
- 3 teaspoons baking powder
- 1 teaspoon salt
- 1 ¼ cups sugar
- ⅔ cup oil (vegetable or canola)
- 2 large eggs, room temperature
- 2 egg whites, room temperature
- ½ cup yogurt (plain or vanilla), room temperature
- 2 teaspoons vanilla extract
- 1 teaspoon peppermint extract
- ¾ cup Lifeway Kefir Plain Lowfat Milk, room temperature
White Chocolate Buttercream
- 4 ounces white chocolate, finely chopped
- 1 ½ cups unsalted butter, room temperature
- 4 cups powdered sugar
- ¼ cup heavy whipping cream
- ½ teaspoon vanilla extract
- crushed candy cane pieces
Instructions:
- Preheat the oven to 350 degrees and line three 6-inch cake pans with parchment paper then nonstick spray. Set aside.
Peppermint Cake
- In a medium bowl, whisk together the flour, baking powder, and salt. Set aside.
- In a large bowl, whisk together the sugar, oil, eggs, egg whites, yogurt, vanilla extract, and peppermint extract until thoroughly combined. Alternately add the flour mixture and Lifeway milk, starting and ending with the flour (flour, milk, flour) and mixing just until combined.
- Divide the batter amongst the three prepared cake pans and bake for 20-25 minutes, or until a toothpick inserted into the middle of the cakes come out clean. Let the cake cool in the pan for 25 minutes before removing and placing them on a wire rack to cool completely.
White Chocolate Buttercream
- In a microwaveable-safe bowl, melt the white chocolate in 20 second intervals, stirring well after every 20 seconds until melted and smooth. Cool completely on the counter.
- In the bowl of an electric stand mixer using the paddle attachment, beat together the butter on med-high speed until light and creamy (2-3 minutes). Add the powdered sugar, melted and cooled white chocolate, heavy whipping cream, and vanilla extract and mix on low speed until combined.
- Increase the speed to high and beat the frosting until smooth and creamy (1-2 minutes).
Assemble
- If needed, use a serrated knife to level off the tops of each cake layer to create a flat surface. Place one cake layer on a cake stand or plate and spread about ⅔ cup of frosting. Then sprinkle on some crushed candy canes. Repeat with the second layer. Top the cake with the last layer and spread on about ¼ cup of frosting.
- Frost and smooth the outside of the cake with a thin crumb coat. Place the entire cake in the refrigerator or freezer for 10 minutes to chill.
- Remove the cake from the refrigerator and finish frosting. Cover the sides and top of the cake again until frosted to your desire. Place the cake in the freezer for 10 more minutes. Then decorate with even more crushed candy cane pieces.
- Keep any leftover cake slices in an airtight container in the refrigerator for up to 5 days.
Notes:
- Cake Pans: This recipe calls for three 6-inch cake pans. Line each pan with parchment paper and non-stick spray.
- Measuring Flour: To help ensure you don’t add extra flour, follow these three simple steps: 1) Fluff up the flour using a fork. 2) Spoon the flour into your measuring cup. 3) Scrape a knife across the top of the measuring cup to level out the flour.
- Room Temperature Ingredients: Any ingredient that needs to be at room temperature should be taken out of the refrigerator at least 1 hour before you want to bake. Do not skip this step! It's super important so that the ingredients can incorporate properly.
- Dividing the Batter: To make sure I evenly divide up the batter amongst the cake pans I use a ½ measuring cup to scoop the batter into each pan. I count as I go and then switch to a tablespoon as I get less and less batter.
- Crumb Coat: This is where we add a thin layer of frosting on the cake in order to catch the crumbs and keeps them secure. You’ll want to chill the cake in the refrigerator or freezer for 10 minutes after the crumb coat has been put on before the final frosting layer.
- Cake Decorating Tools: I like to use a turntable, cake scraper, and an icing spatula to help assist me when assembling a layer cake.



Leave a Reply