These no bake Oreo cheesecake bars has a buttery Oreo crust, a creamy cheesecake filling, and is topped with even more Oreo crumbs. You can easily make this no bake dessert year-round!
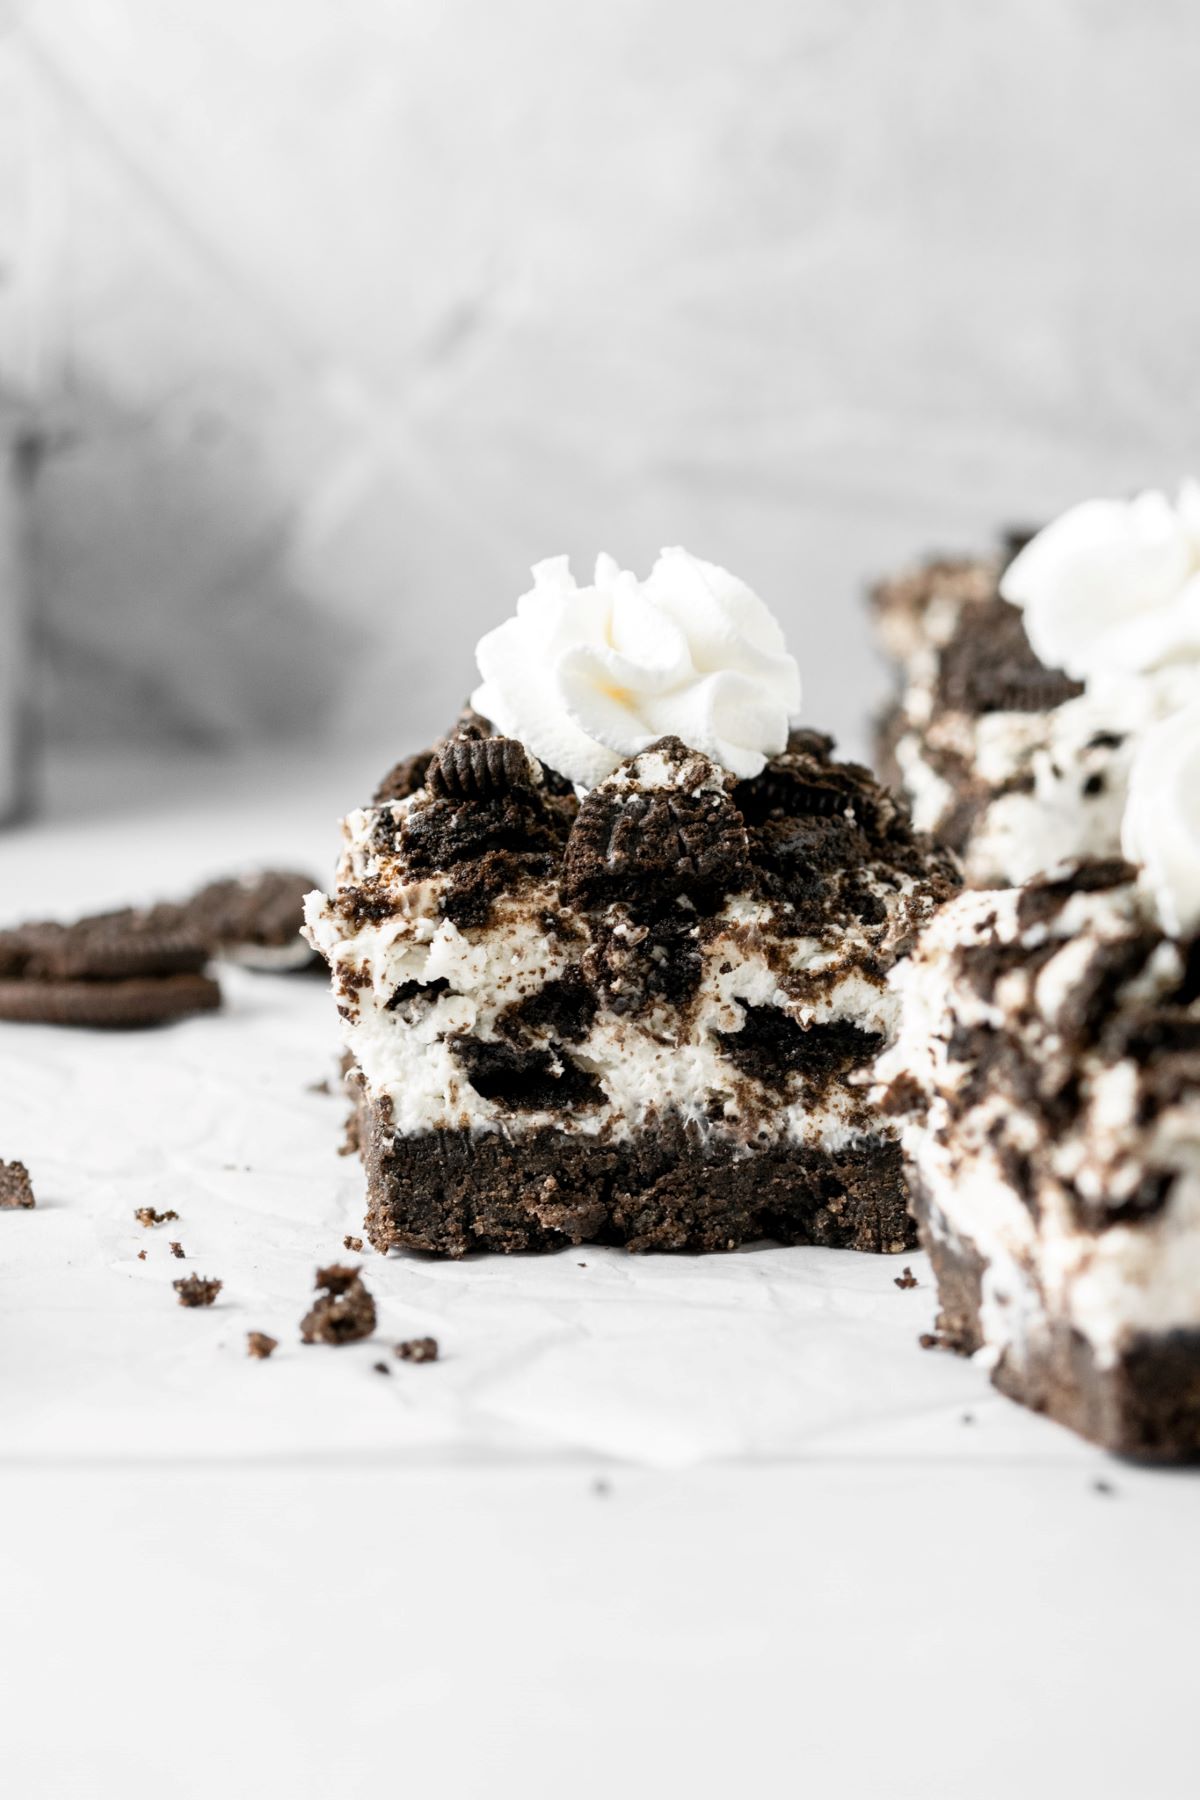
These creamy Oreo cheesecake bars has Oreo cookies in every bite. The chocolate cookie crust is crunchy and buttery, while the cheesecake layer is super smooth.
This is such a simple recipe to make and so much easier compared to a regular cheesecake!
Looking for more Oreo desserts? Then check out these: Oreo cheesecake bites, Oreo chocolate chip cookies, and Oreo pop tarts.
Jump to:

Why You'll Love This Cheesecake
- It has a crunchy Oreo crust.
- It's 100% no bake.
- The creamy filling has crushed Oreos mixed into it.
- Each bar is topped with whipped cream.
- You can serve them for any special occasion or holiday!
I absolutely love no bake cheesecakes! You don't need to worry about a water bath or baking in a springform pan. These pumpkin no bake cheesecake bars are amazing too.
They're also lighter and creamier, which is the best part about a cheesecake in my opinion!

Ingredients Needed
Here are some notes on the ingredients we'll be using. For the full ingredients list, look at the recipe card below.
- Oreos: I just used regular Oreos. I don't recommend using double stuffed because of how much cream there is compared to the chocolate cookie.
- Heavy Whipping Cream: Do not substitute with heavy cream. They are not the same!
- Cream Cheese: Use full fat cream cheese, not the low fat version.

Instructions
Here are the step by step instructions on how to make these easy cheesecake bars with Oreo cookies.
Step 1: Make the crust. Using a food processor, pulse the Oreos until fine crumbs. In a medium bowl, mix together the Oreo crumbs, melted butter, and brown sugar until combined.
Step 2: Freeze the crust. Pour the crumbs into the bottom of the prepared baking dish, pressing down firmly (use your fingers or a ¼ measuring cup). Place in the freezer while you make the filling.


Step 3: Make the whipped cream. In a large bowl of a stand mixer using the whisk attachment, beat the heavy whipping cream on high speed until stiff peaks.
Place into a small bowl and put it in the refrigerator.
Step 4: Beat the cream cheese. In that same large mixing bowl using the electric mixer, beat the cream cheese, sugar, and vanilla extract on medium-high speed until combined.


Step 5: Fold everything together. Gently fold in the whipped cream and then the crushed Oreos into the cream cheese mixture. Scrape the entire cheesecake batter into the prepared pan and use an offset spatula to smooth out.
Top the even layer with even more crushed Oreos.
Step 6: Chill. Cover the pan with aluminum foil or plastic wrap and chill in the refrigerator for at least 4 hours.

Serving The Cheesecake
Once set, cut the cheesecake into bars. I sliced 9 big squares, but you could also slice it into 12 or 16 squares.
Top Each bar with whipped cream or even more crushed cookies.
Storage Tips
Keep any individual slices of cheesecake in an airtight container in the refrigerator for up to 5 days.
Expert Baking Tips
- Baking Pan: Line an 8x8 inch square pan with parchment paper, creating "handles" that hang over the sides. Then grease your pan with non-stick cooking spray.
- Room Temperature Ingredients: If an ingredient calls to be at room temperature before baking, do it. This helps to ensure the best quality in both flavor and texture.
- Crust: Be sure to compact the crust into the prepared pan. I use my hands and the bottom of a ¼ measuring cup to help with this.
- Whipped Cream: Gently fold the whipped cream into the cheesecake batter using a rubber spatula. If you are too rough, the cheesecake might not set up properly.
- Chill Time: It will take at least 4 hours for the cheesecake to chill. If you can do it overnight, even better!
Recipe FAQs
For the crust, I place the whole cookies into a food processor so they'll be fine crumbs. For the cheesecake filling, you can place them in a plastic bag or ziploc bag and use a rolling pin to crush them.
For the filling, no. I'm not sure how cool whip would effect the cheesecake when setting up in the refrigerator. If you wanted to top your Oreo bars with cool whip that's totally fine!

If you made this recipe, please leave a comment and star rating below. I love hearing from you! Also, please tag me on Instagram and check out my Pinterest for even more recipe ideas.
It brings me so much joy to see you make my recipes. 🙂
Happy Baking!
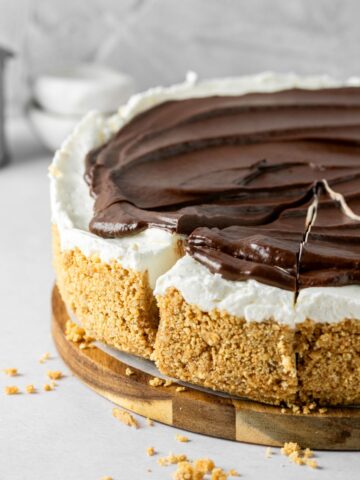
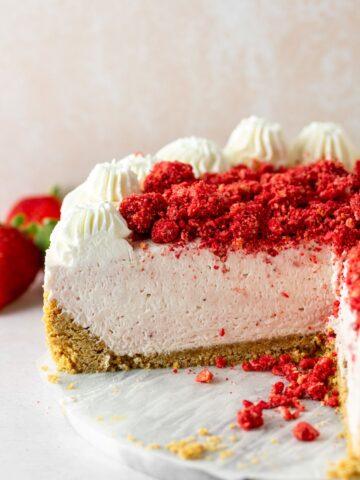
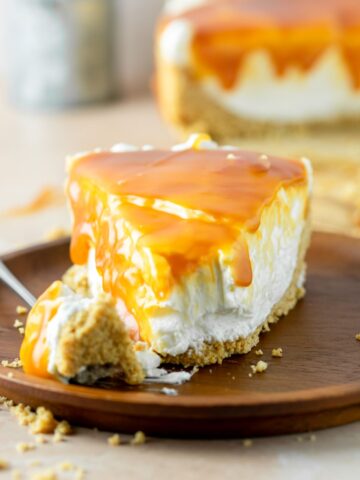
More Cheesecake Recipes
📖 Recipe

No Bake Oreo Cheesecake Bars
Equipment
- 8x8 inch baking pan
- Mixing Bowl
- Electric Stand Mixer
- Offset Spatula
Ingredients:
Oreo Crust
- 25 Oreo Cookies, crumbs about 2 ⅓ cups
- 7 tablespoons unsalted butter, melted
- ¼ cup brown sugar
Oreo Cheesecake
- 1 cup heavy whipping cream
- 16 ounces block-style cream cheese, room temperature
- ½ cup sugar
- 1 teaspoon vanilla extract
- 10 Oreos, crushed plus extras crushed on top
Instructions:
- Line an 8×8-inch baking pan with parchment paper, creating "handles" that hang over the sides. Then spray with non-stick spray.
Oreo Crust
- Place the Oreo cookies into a food processor or blender and pulse until fine crumbs. Pour the crumbs into a medium-sized mixing bowl and add the melted butter and brown sugar. Mix together.
- Pour the crumbs into the bottom of the prepared pan, pressing down firmly (use your fingers or a ¼ measuring cup). Place in the freezer while you make the filling.
Oreo Cheesecake
- In the bowl of an electric stand mixer using the whisk attachment, beat the heavy whipping cream on high speed until stiff peaks (2-3 minutes). Scrape the whipped cream into a small bowl and set aside.
- In the same bowl (you don't have to clean it first) but using the paddle attachment, beat the cream cheese, sugar, and vanilla extract on medium-high speed until smooth and creamy (1-2 minutes). Scrape the sides of the bowl a few times during this process.
- Remove the bowl from the stand mixer and use a rubber spatula to gently fold in a ½ cup of whipped cream. Once combined, fold in the rest. Then fold in the crushed Oreos.
- Pour the cheesecake filling over the Oreo crust and use an offset spatula to spread it out evenly. Top it with even more crushed Oreos. Cover with foil and place in the refrigerator to chill for at least 4 hours.
- Once set, slice into 9 or 12 bars and topped with whipped cream (optional. See note below). Keep any leftovers in the refrigerator in an airtight container for up to 5 days.
Notes:
- Baking Pan: Line an 8x8 inch square pan with parchment paper, creating "handles" that hang over the sides. Then grease your pan with non-stick cooking spray.
- Room Temperature Ingredients: If an ingredient calls to be at room temperature before baking, do it. This helps to ensure the best quality in both flavor and texture.
- Crust: Be sure to compact the crust into the prepared pan. I use my hands and the bottom of a ¼ measuring cup to help with this.
- Whipped Cream: Gently fold the whipped cream into the cheesecake batter using a rubber spatula. If you are too rough, the cheesecake might not set up properly.
- Chill Time: It will take at least 4 hours for the cheesecake to chill. If you can do it overnight, even better!
- Homemade Whipped Cream: An optional topping for the cheesecakes is whipped cream. Simply whisk together 1 cup of heavy whipping cream, 2 tablespoons of sugar, and ¼ teaspoon of vanilla extract using your electric stand (or handheld) mixer on high speed for 2-3 minutes.


Such a smooth and creamy texture! Oreos mixed into any dessert is so good.