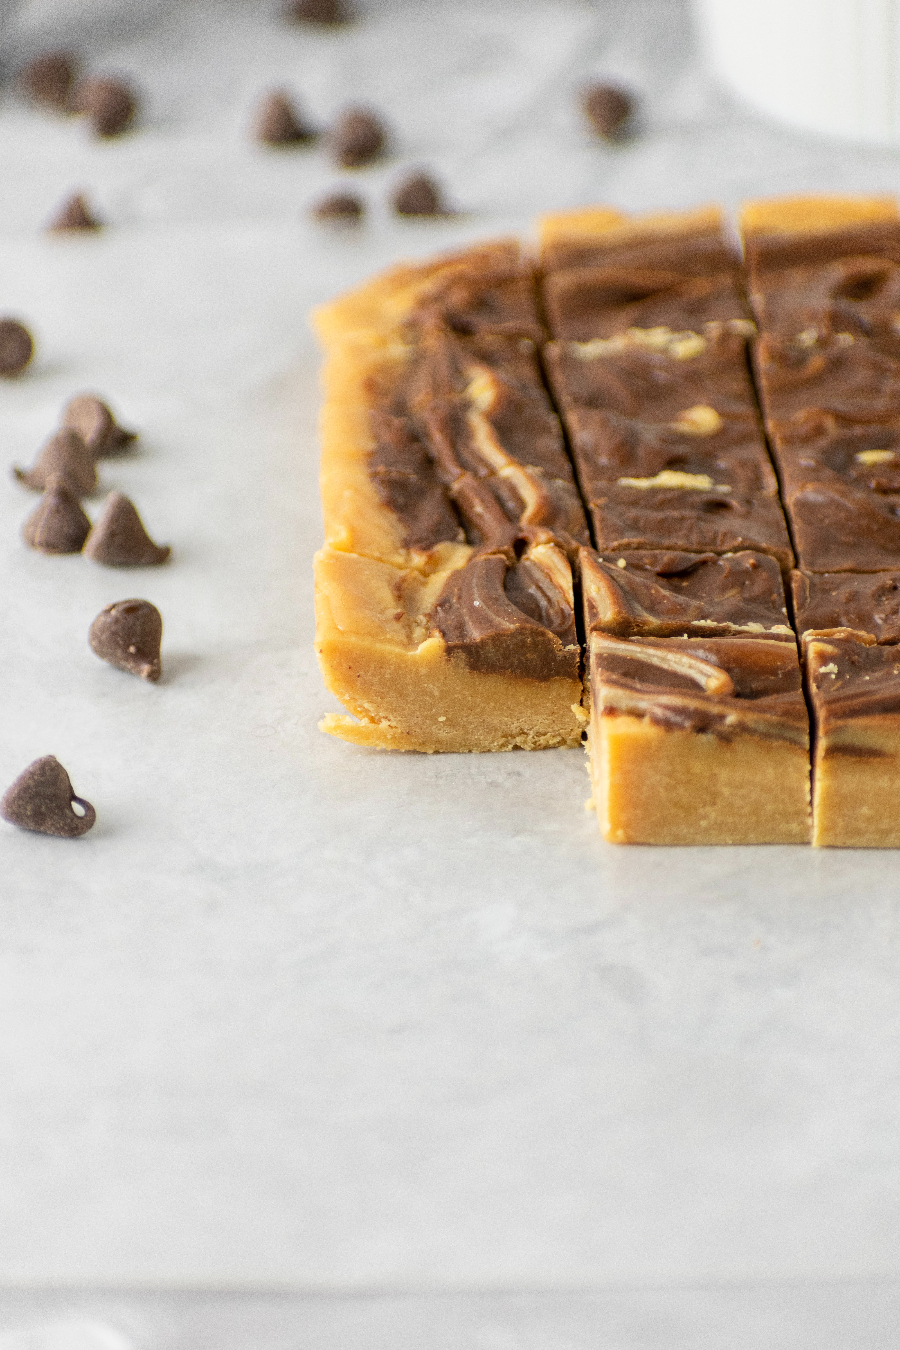
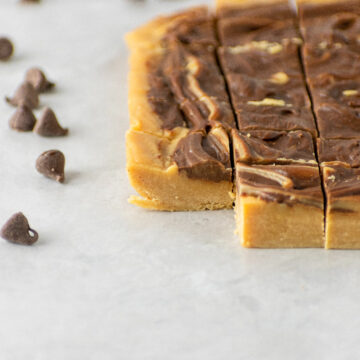
This chocolate peanut butter fudge recipe uses sweetened condensed milk to create a super smooth and creamy holiday dessert. With just 6 simple ingredients and 10 minutes of prep, this fudge recipe couldn't be easier!

This creamy peanut butter fudge has melted chocolate swirled on top to create the most perfect bite.
The rich chocolate with the creamy peanut butter is a great pairing for the holiday season. You'll definitely want to add this fudge recipe to your baking list!
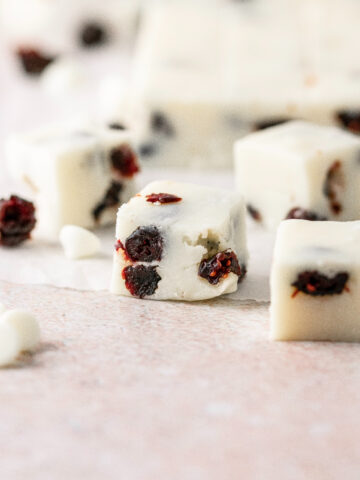
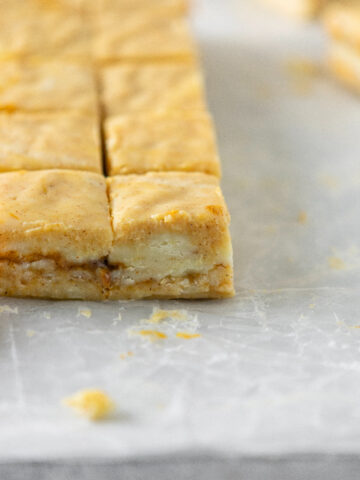
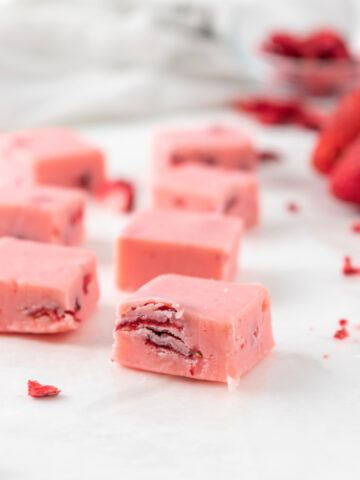
Looking for even more fudge flavors? Then check out these: pumpkin spice fudge, cranberry white chocolate fudge, and strawberry fudge.
Jump to:
Why You'll Love This Fudge
- No candy thermometer or double boiler is needed.
- It has a creamy texture.
- It tastes just like peanut butter cups.
- The combination of chocolate and peanut butter is tasted in every bite!
Homemade fudge couldn't be easier to make at home! It's naturally a no-bake dessert, so you don't even have to turn on your oven.
Any peanut butter lovers will go crazy for this easy fudge recipe.

Ingredients Needed
Here are some notes on the ingredients we'll be using. For the full ingredients list, look at the recipe card below.
- Peanut Butter Chips: I used one 10-ounce bag of Reese's Peanut Butter Chips. This equals about 2 cups, which is perfect for this recipe.
- Sweetened Condensed Milk: Use normal sweetened condensed milk, not fat-free.
- Chocolate Chips: Just ⅓ cup is needed. I used semi-sweet chocolate chips, but you could also use milk chocolate chips or dark chocolate chips.

Instructions
Here are the step-by-step instructions on how to make this easy chocolate peanut butter fudge.
Step 1: Peanut Butter Chips. Combine the peanut butter chips, 1 cup of sweetened condensed milk, butter, and salt, and cook over medium heat. Stir occasionally until smooth and melted.
Remove from the heat, mix in ½ teaspoon of vanilla extract, and spread evenly into the prepared pan.


Step 2: Chocolate Swirl. Melt the chocolate chips with the remaining sweetened condensed milk over medium heat. Stir until the chocolate has melted.
Then remove from the heat and mix in ½ teaspoon of vanilla extract.


Step 3: Swirl. Spoon the melted chocolate over the peanut butter and use a butter knife to swirl.
Step 4: Chill. Place the fudge into the refrigerator to chill for at least 4 hours before cutting into squares.
Storage Tips
Keep any leftover pieces of fudge in an airtight container in the refrigerator for up to 3 weeks.
Expert Baking Tips
- Baking Pan: Line an 8×8-inch baking pan with aluminum foil and then non-stick spray. I found that using both makes removing the fudge so much easier.
- Sweetened Condensed Milk: Do not confuse this product with evaporated milk. They are NOT interchangeable. Make sure that you do not use fat-free sweetened condensed milk either.
- Quick Chilling Method: If you’re in a hurry to serve this fudge, you can place it into the refrigerator to chill for 1 hour and then place it in the freezer for 20-25 minutes. Then you can cut them into squares. For best results, the fudge should chill in the refrigerator for at least 4 hours.
- Cutting Fudge: To get even 1-inch fudge squares use a ruler and a sharp knife. Dip the knife into hot water, dry it off, and then cut it into your fudge. This will create smooth and even cuts.
Recipe FAQs
It takes at least 4 hours for the fudge to set in the refrigerator. For best results, allow it to chill in the refrigerator overnight.
Yes! Be sure to wrap your fudge in plastic wrap a few times and place it into an airtight container or a Ziploc bag. Keep in the freezer for up to 2 months.
No, you cannot. Natural peanut butter has a lot of natural oils, which won't allow the fudge to set up properly. Use peanut butter chips, as that will create a smooth peanut butter mixture.
If you wanted to add nuts, mix in a ½ cup to the peanut butter chips once melted.

If you made this recipe, please leave a comment and star rating below. I love hearing from you! Also, please tag me on Instagram and check out my Pinterest for even more recipe ideas.
It brings me so much joy to see you make my recipes. 🙂
Happy baking!
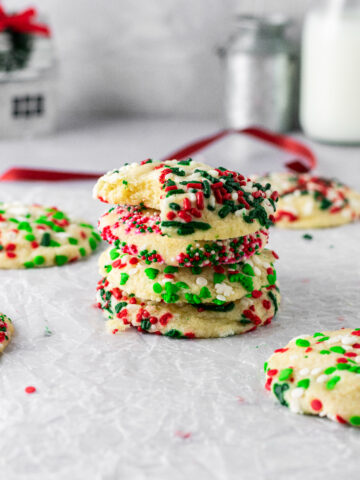
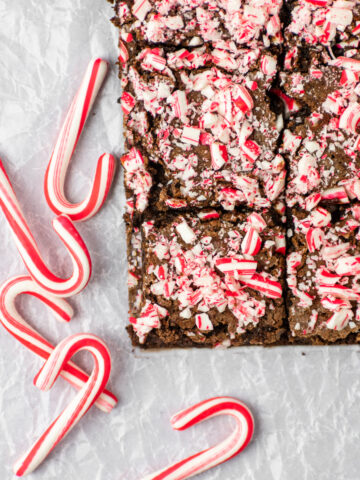
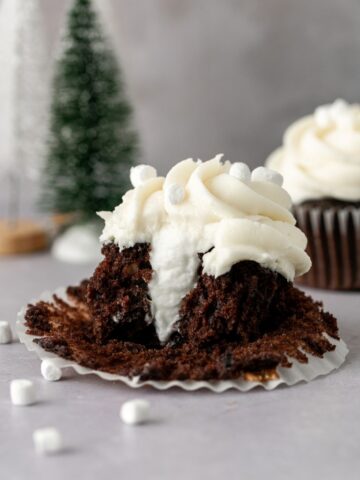
More Christmas Recipes
📖 Recipe
Chocolate Peanut Butter Swirl Fudge
Equipment
- 8x8 inch baking pan
Ingredients:
- 2 cups peanut butter chips
- 1 (14oz) can sweetened condensed milk, divided
- 1 tablespoon unsalted butter
- ⅛ teaspoon salt
- 1 teaspoon vanilla extract, divided
- ⅓ cup semi-sweet chocolate chips
Instructions:
- Line an 8×8-inch baking pan with foil and spray with non-stick spray. Set aside.
- In a medium-sized saucepan, combine the peanut butter chips, 1 cup of the sweetened condensed milk, butter, and salt, and cook over medium heat. Stir occasionally using a wooden spoon (or silicone spatula) until melted and smooth. Then remove from the heat, mix in ½ teaspoon of vanilla extract, and spread evenly into the prepared pan.
- In a small saucepan, melt the chocolate chips with the remaining sweetened condensed over medium heat. Stir until the chocolate has melted. Then remove from the heat and mix in ½ teaspoon of vanilla extract.
- Spoon the melted chocolate over the peanut butter and use a butter knife (or toothpick) to swirl. Chill in the refrigerator for at least 4 hours before cutting the fudge into squares.
Notes:
-
- Baking Pan: Line an 8×8-inch baking pan with aluminum foil and then non-stick spray. I found that using both makes removing the fudge so much easier.
-
- Sweetened Condensed Milk: Do not confuse this product with evaporated milk. They are NOT interchangeable. Make sure that you do not use fat-free sweetened condensed milk either.
-
- Quick Chilling Method: If you’re in a hurry to serve this fudge, you can place it into the refrigerator to chill for 1 hour and then place it in the freezer for 20-25 minutes. Then you can cut them into squares. For best results, the fudge should chill in the refrigerator for at least 4 hours.
-
- Cutting Fudge: To get even 1-inch fudge squares use a ruler and a sharp knife. Dip the knife into hot water, dry it off, and then cut it into your fudge. This will create smooth and even cuts.
Nutrition
This recipe was originally published in December of 2020, but was updated on November 15, 2023 with newer content and fresh pictures.

Can you use creamy peanut butter if don’t peanut butter chips?
I have not personally tried that, but it should work! Let me know if you try it and how it worked out for you. 🙂
I love that this fudge recipe requires just 6 ingredients. The chocolate and peanut butter flavors really come through!
I want to make and send as a gift via mail. Does this fudge require refrigeration?
You can definitely send it in the mail. I did this last year when sending to family. Just tell them to place the fudge in the refrigerator once they receive it. That way it'll last longer. 🙂
Don't have a comment but a question, can I use candy molds instead of just making flat candy? Thanks
Hi Janet, I have not tried this before! It's sounds like it could work though. Let me know if you end up trying it!